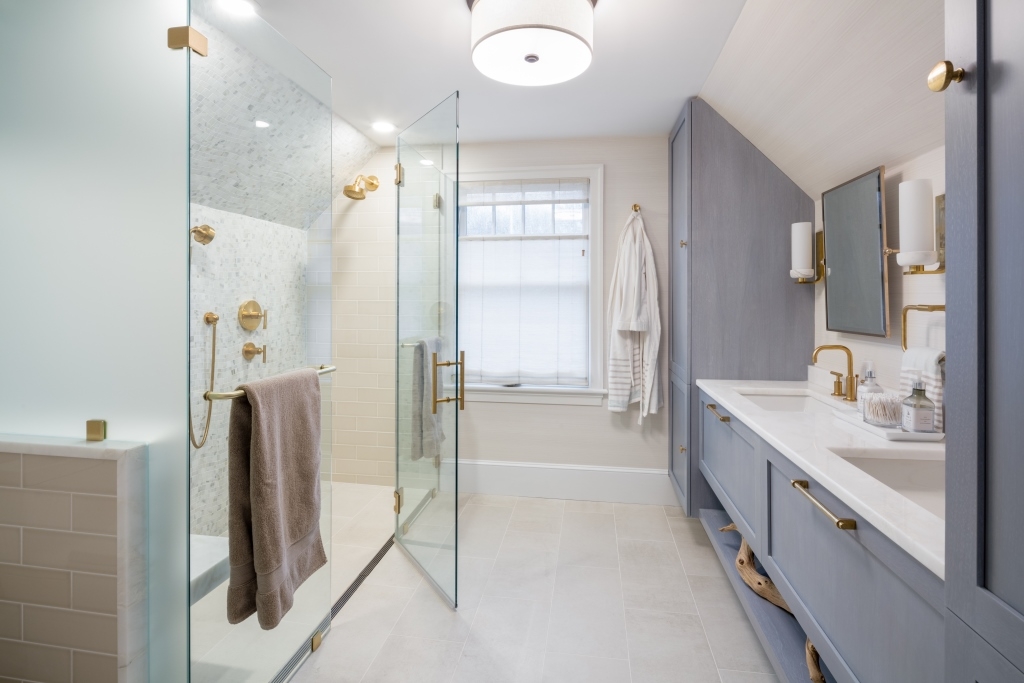
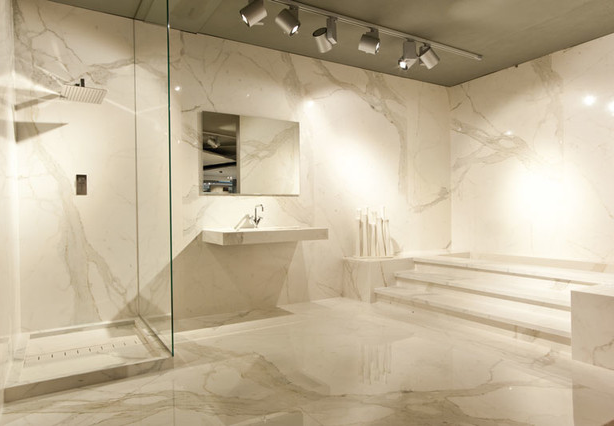
Being in this business, we see a lot of different trends and “looks”; some aren’t able to hang around too long (remember shag carpets?) but others are deserving of the spotlight and should be given their due attention. One of them is “living finishes” or “organic finishes”, for plumbing fixtures.

After hearing about faucets of this type a couple of times from clients, I wanted to know more about this product. What I’ve learned is that sinks or faucets with this finish are beautiful, wear well and add a lot of character to your space.
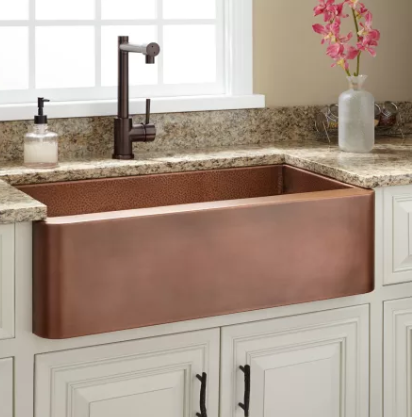
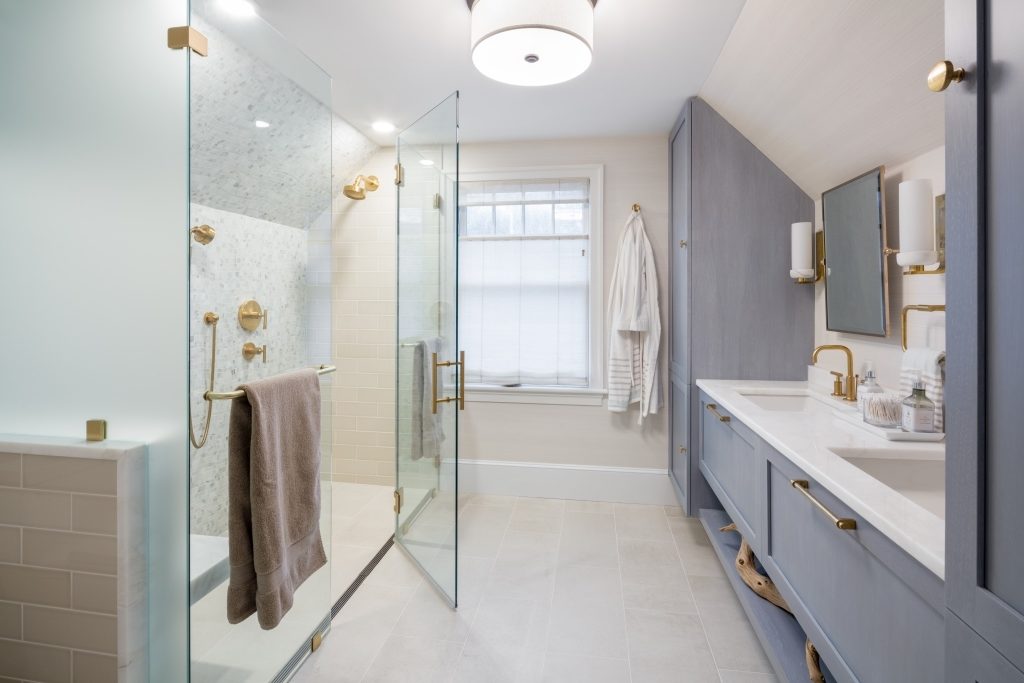
Unlike traditional plumbing fixtures, pieces with living finishes are un-sealed or un-lacquered and are allowed to change over the years and with use, allowing a gorgeous patina to be revealed (in other words, oxidation). When talking about these fixtures, it is referring to any metal, usually copper, brass, bronze or nickel silver (nickel is sometimes considered non-living but will actually patina over time). Stainless steel is typically considered non-living as well, though the surfaces can dull or change over time depending on how they are cared for.
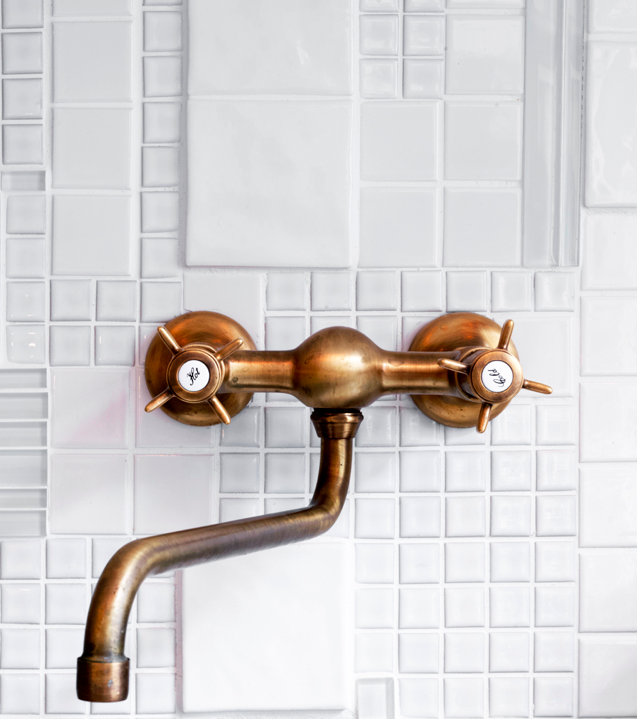
So, what’s actually happening to the metal? Well, over time, the original layers of metal will show through, depending on the application and environment that it’s being used in. Everyday things like humidity, cleaning solutions, water hardness, salt air, etc can bring out the patina to your sink and faucet and really bring out its beauty over time. And since it’s “living”, it will continue to change through the years, bringing you different shades of patina and lots of character over its lifetime.
To care for a living finish is actually pretty simple: soap and water – a good scrubbing here and there will keep it looking great and will allow the patina process to continue. If you are finding that you aren’t crazy about the changes and you have a sink that is copper or brass, you can find a cleaner for those materials and revert the patina right back to its original state. Of course, you’ll need to do this every few months to fight the oxidation process.
Next time you are in the market for plumbing fixtures, give these a glance. Think of them like you see yourself, aging gracefully and only getting better over the years!

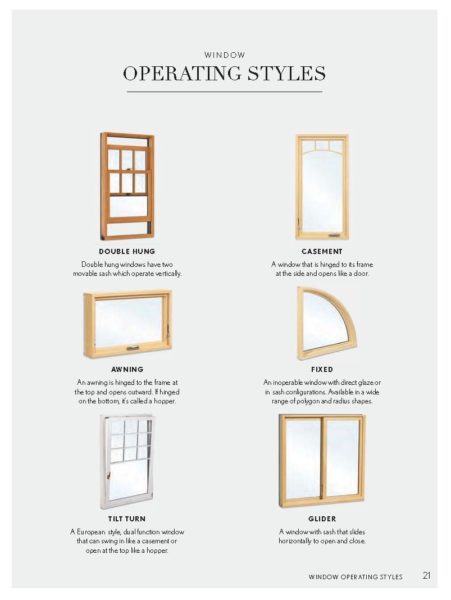


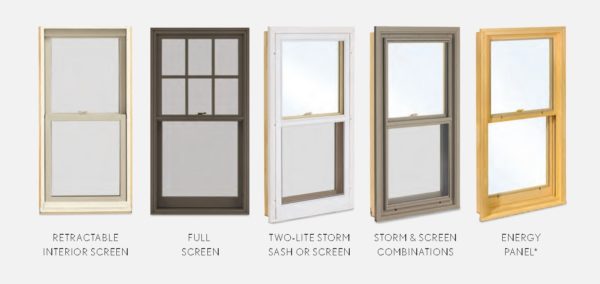
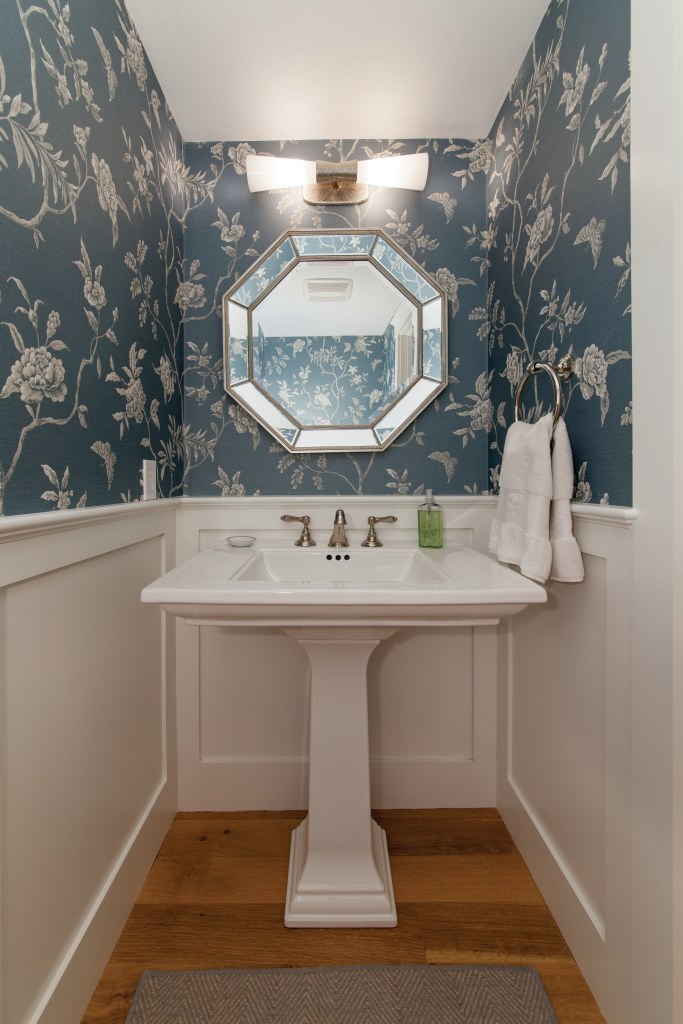
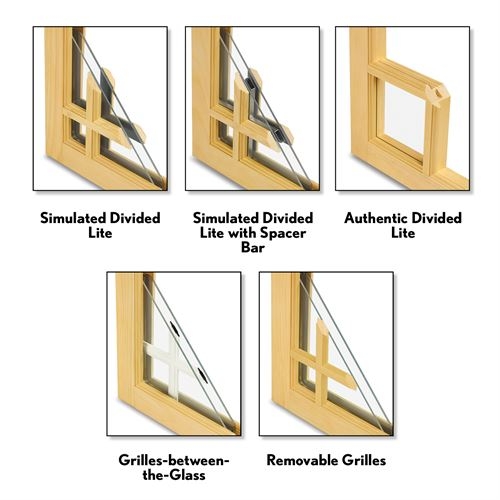 Divided lights refer to the style of grid that appears to “divide” the window pane. Taking your home style & any existing windows into consideration will help to make this choice. Different options offer various aesthetic & practical advantages. Here is a list of some of the most common divided light styles:
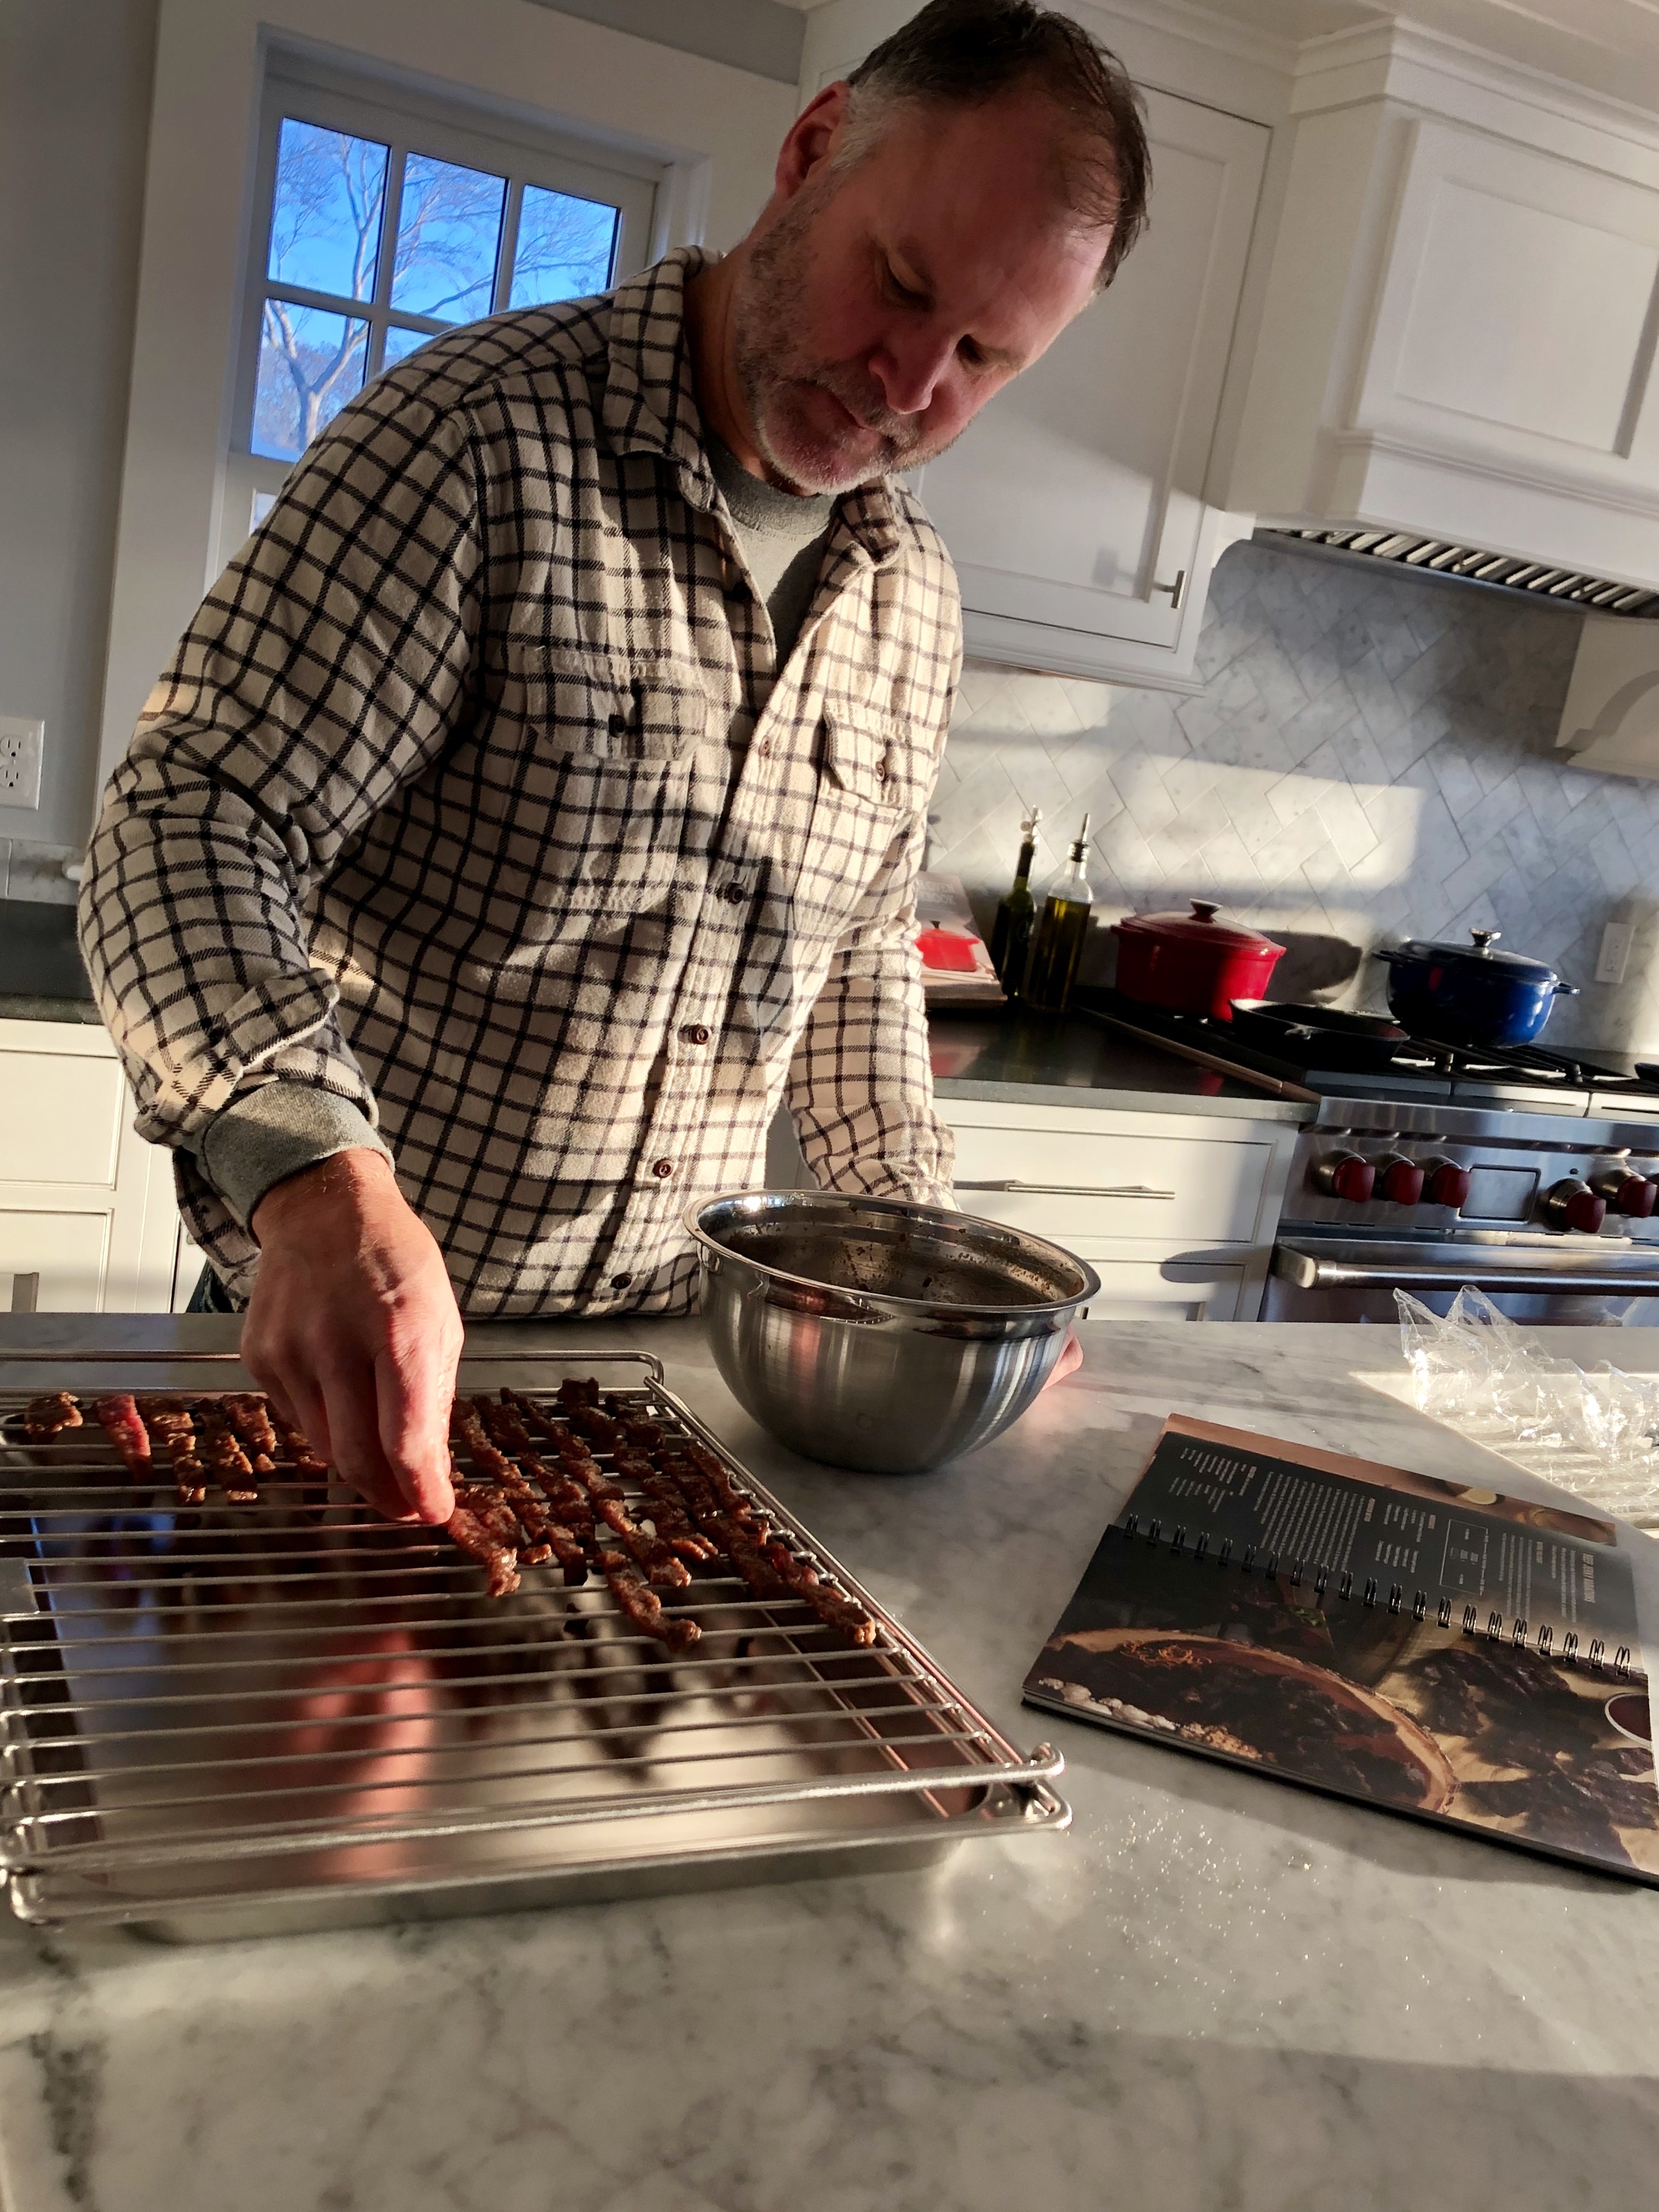
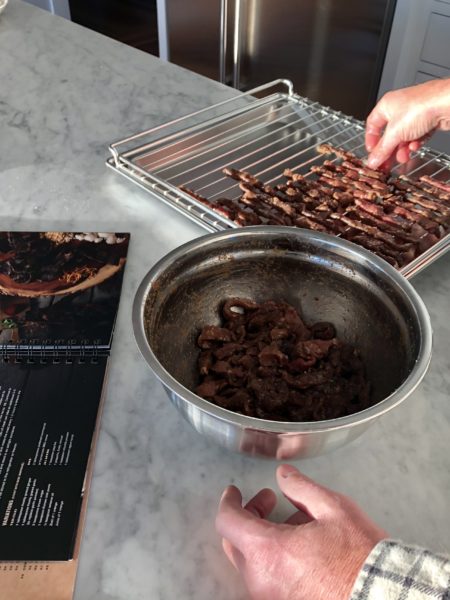 This tasty treat is one that was made by our very own Eric Thorson but comes courtesy of the Wolf’s
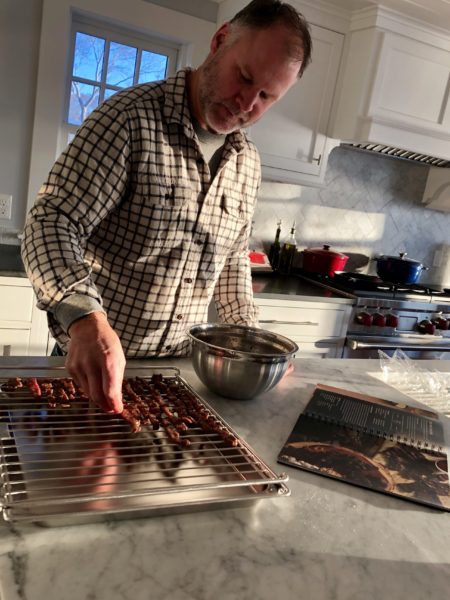


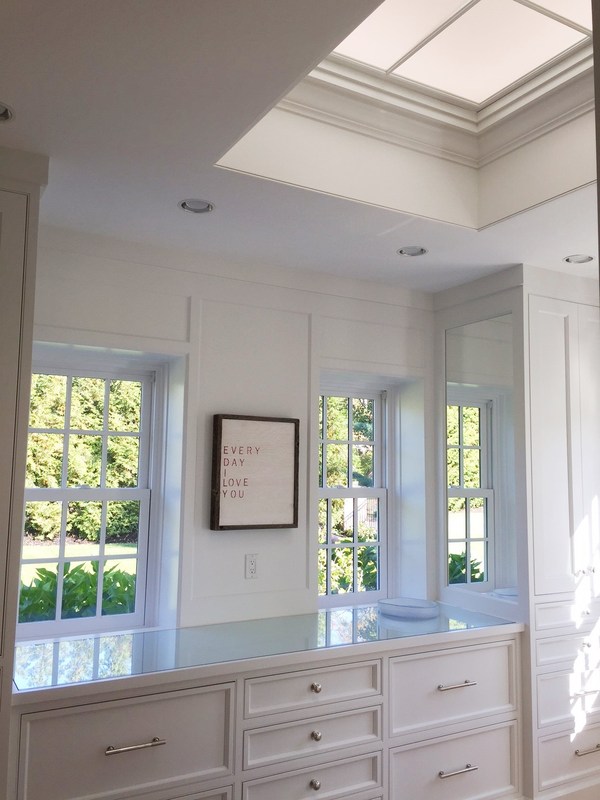
 Skylights are a great way to bring natural light into an otherwise dark space. The latest technology in skylights has them fully automated with touch screen remote controls and water sensors that can automatically close the unit if rain is detected.


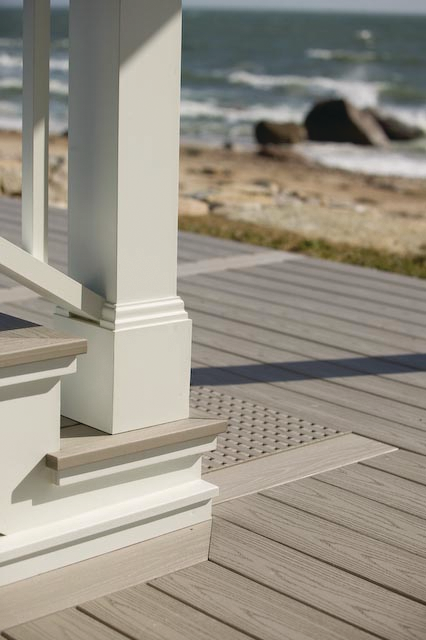
 High Style meets Low Maintenance
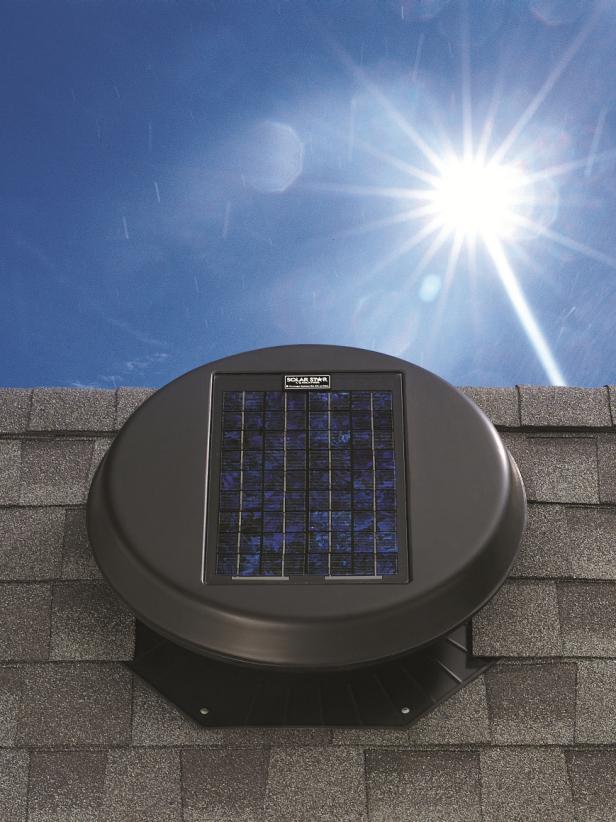


 Velux Solar Powered Skylight