Category: Kitchen Gallery

The Showcase of Style & Function

One factor in home design that is here to stay is the concept of space and functionality. Floating shelving serves as a versatile way to add personal touches to your home all while keeping the ease of functionality a top priority.

Whether your functional needs stem from a well-organized pantry, convenient coffee bar, or a showcase of style - function is key. 

Apart of creating a functional space that remains functional is following the mantra "Anything that takes up physical space takes up mental space". Meaning, it's important to identify the "must-haves" to create a purposeful space. Floating shelving allows for endless opportunities to change up design if desired - This is one factor that you are limited to with full cabinetry. Let's face it, seasons change and so does nature of design!

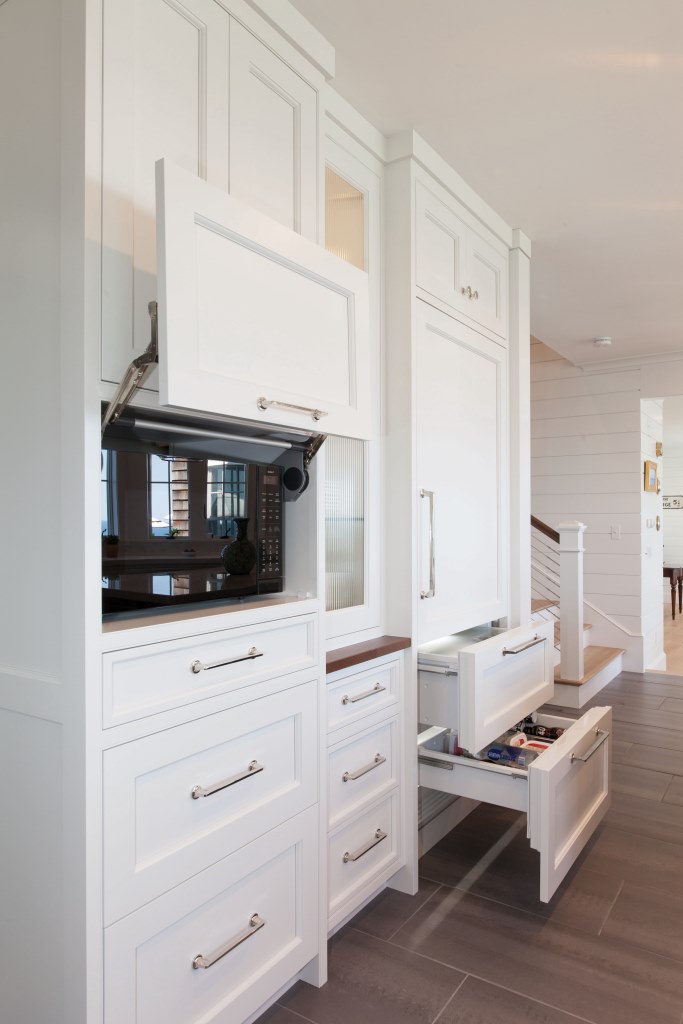
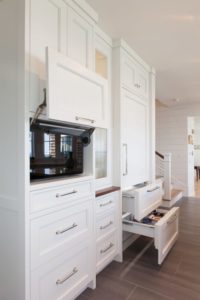
It's also perfect for those "Odd" spaces. Floating shelving is easily customizable and can be a great way to make that awkward space functionable and used.

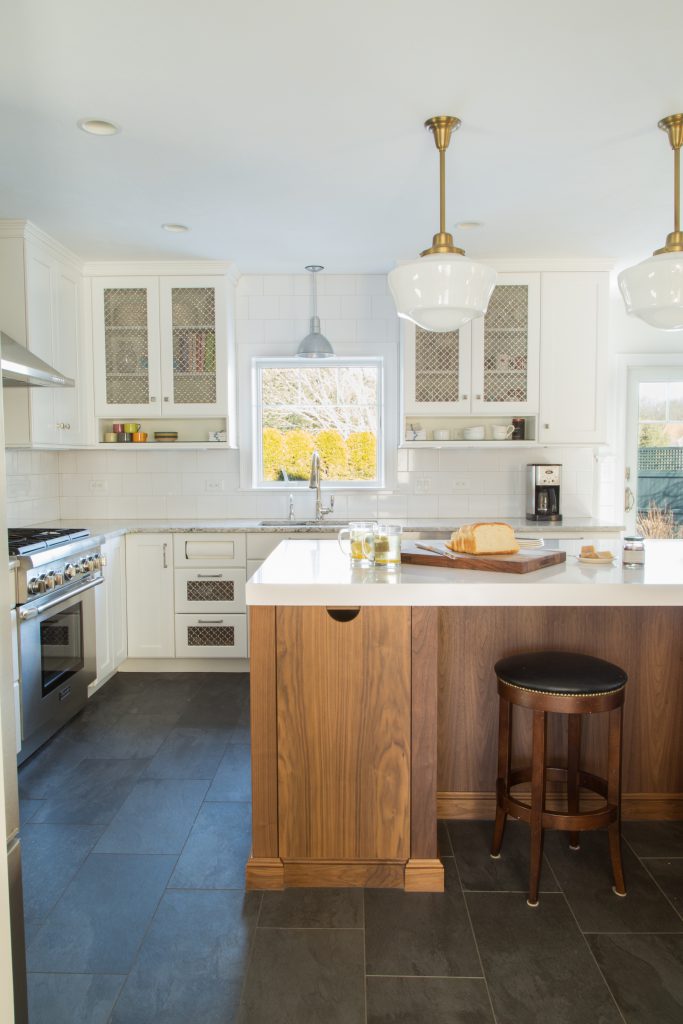
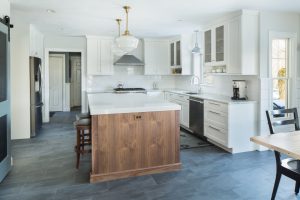
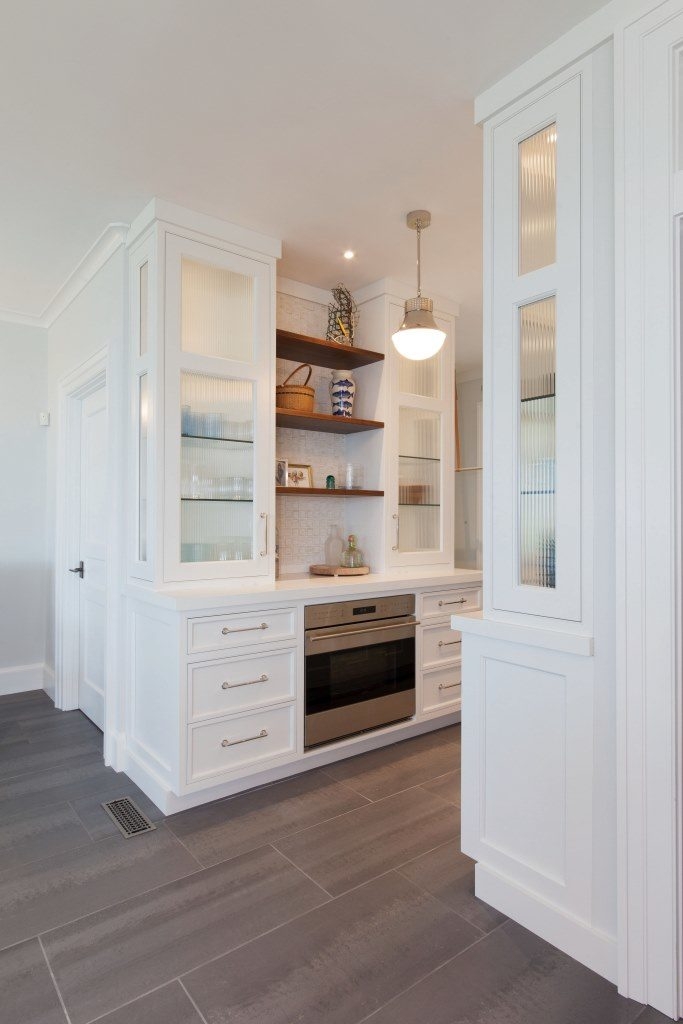
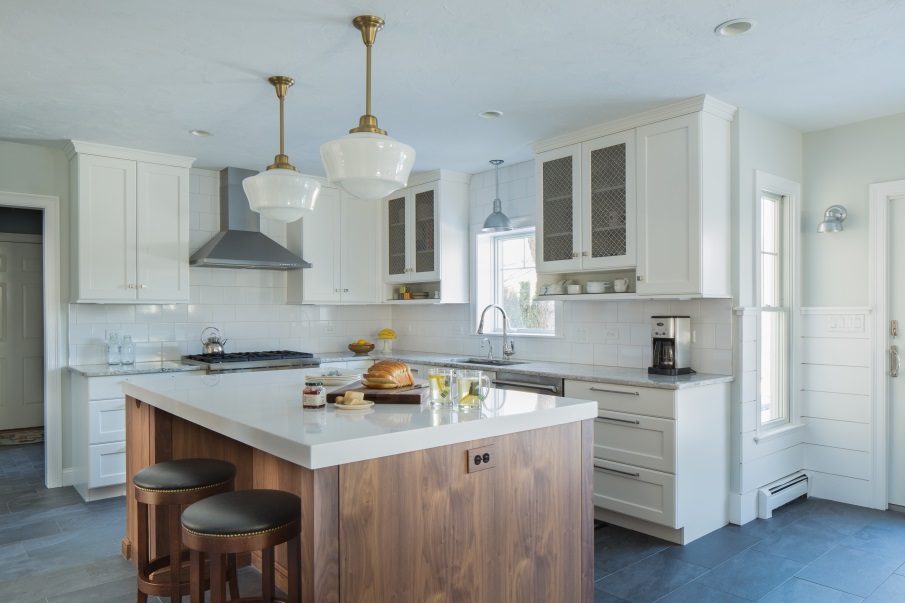
Blue Harbor Kitchens + Baths General Manager, Jill Muldoon, touches upon how floating shelving can be a great contrast in any space.
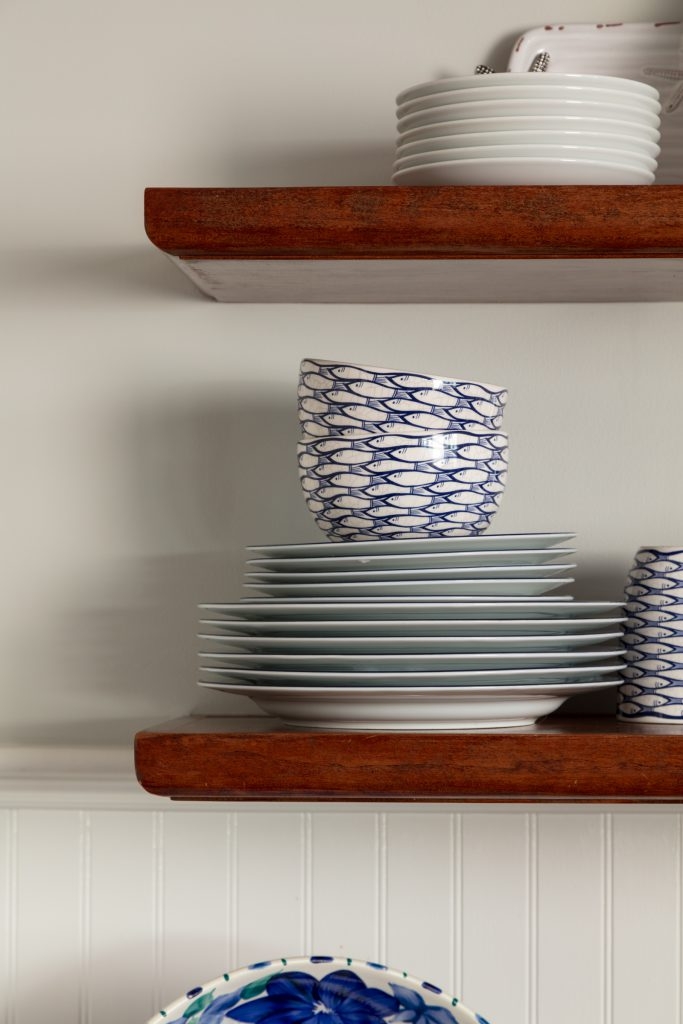
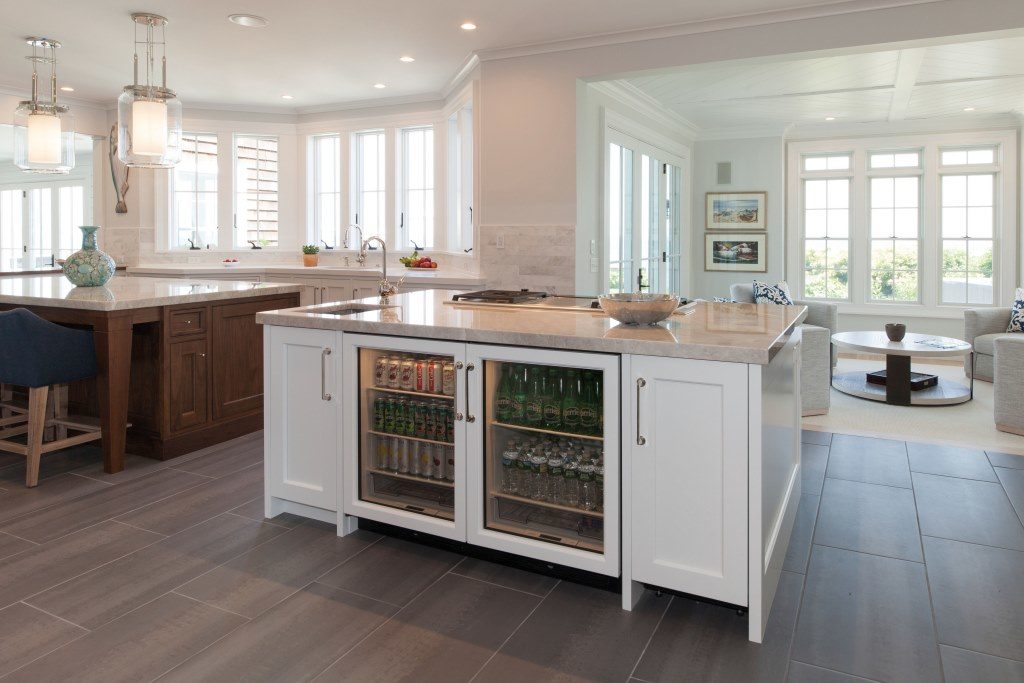
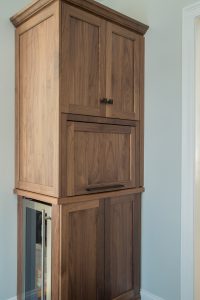
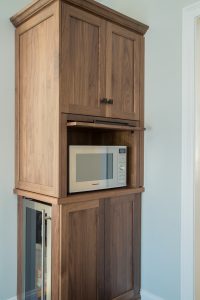
 “I love adding a pop of color that will serve as a contrast in an otherwise ‘all white’ kitchen. Floating shelves in a natural wood, such as Walnut are a great way to achieve a subtle contrast. They can create a sense of warmth, give the space some character, and provide an opportunity to add personal style.”                             
                                                                                                                                                                                                                                            In many ways, floating shelves can uplift a home and create a statement that serves as a functional part of our everyday lives.
Private Residence

The Perfect Pantry

Nowadays, we are seeing the celebration of the pantry (and adaptations of it) and it is finally getting the accolades it deserves. With soapstone or marble shelving, beautiful soft-closing drawers, great lighting, and plenty of space to stock your spices, canned or dry goods, it is a highlight of many new or renovated homes.

Kitchens: Form follows function

Design & Detail Spotlight

Kitchens: Form follows function

Louis Sullivan a 19th Century Chicago based Architect held the belief that “form follows function”, in essence saying that the shape and design of a building should be directly related to or even dictated by it’s intended function. This axiom has become a cornerstone of many design & architectural firms principles.

A kitchen designer often takes this same approach to designing your kitchen, creating a space that functions as well as it looks and is catered to the way the space will be used.  After all what good is a beautifully designed space if it doesn’t function well? From the overall layout,  inserts and unique cabinet modules to varying operation of cabinet doors and drawers, all of the so-called bells and whistles contribute to the increased functionality of a new kitchen.

Deep drawers instead of cabinet doors.

The full extension soft close drawers allow for easy access to all of its contents without having to open a door bend down and reach in.

Dual Islands

The old kitchen work triangle concept dictated that you should keep your fridge, sink and cooktop in close proximity to each other, but not everyone uses their kitchen the same way and with kitchens becoming larger and more of a social gathering spot homeowners are breaking the rules.  This client from our Plymouth Summer Retreat project opted for two islands, one with seating and storage (the gathering spot LEFT) and the other a more utilitarian application with the cooktop, prep sink beverage center and ice maker door (RIGHT). This keeps the prep and cooking mess away from the island seating area.

Fridge Drawers & Microwave Garages

This Fridge (below left) has a main upper door and two lower drawers that are individually temperature controlled, great for storing items you use often and want quick access to or to allow younger members of the family to be able to help themselves to healthy snacks.  Also pictured are some handy appliance garages, in this case to house the microwave but really these top closing “garages” could be used to hide any appliance you’d prefer not to look at on a daily basis. They keep them out of sight but still readily accessible when needed.


Food Storage & Paper Towel Dispensers

Storing your potatoes & onions and paper towels are not what most think of when creating their dream kitchen, in fact these details can often be overlooked. Good design however will factor in even the little things that can add to the overall functionality of the space. The client from our Lincoln Kitchen & Interior  project preferred not to have her counter cluttered with a paper towel dispenser and this handy dispensing drawer located just beside the sink solved the dilemma. You can even store additional rolls behind the main dispenser for easy change out to a new roll!

The metal mesh drawers & cabinet doors allow for storage of items like potatoes & onions that would benefit from some additional ventilation but the feature also adds a unique decorative element.


Want to incorporate some of these clever solutions into your next project? Contact us and we will pair you with one of our trusted Kitchen design partners to get started in planning your dream kitchen!

Eric’s Homemade Beef Jerky

Homemade Teriyaki Beef Jerky

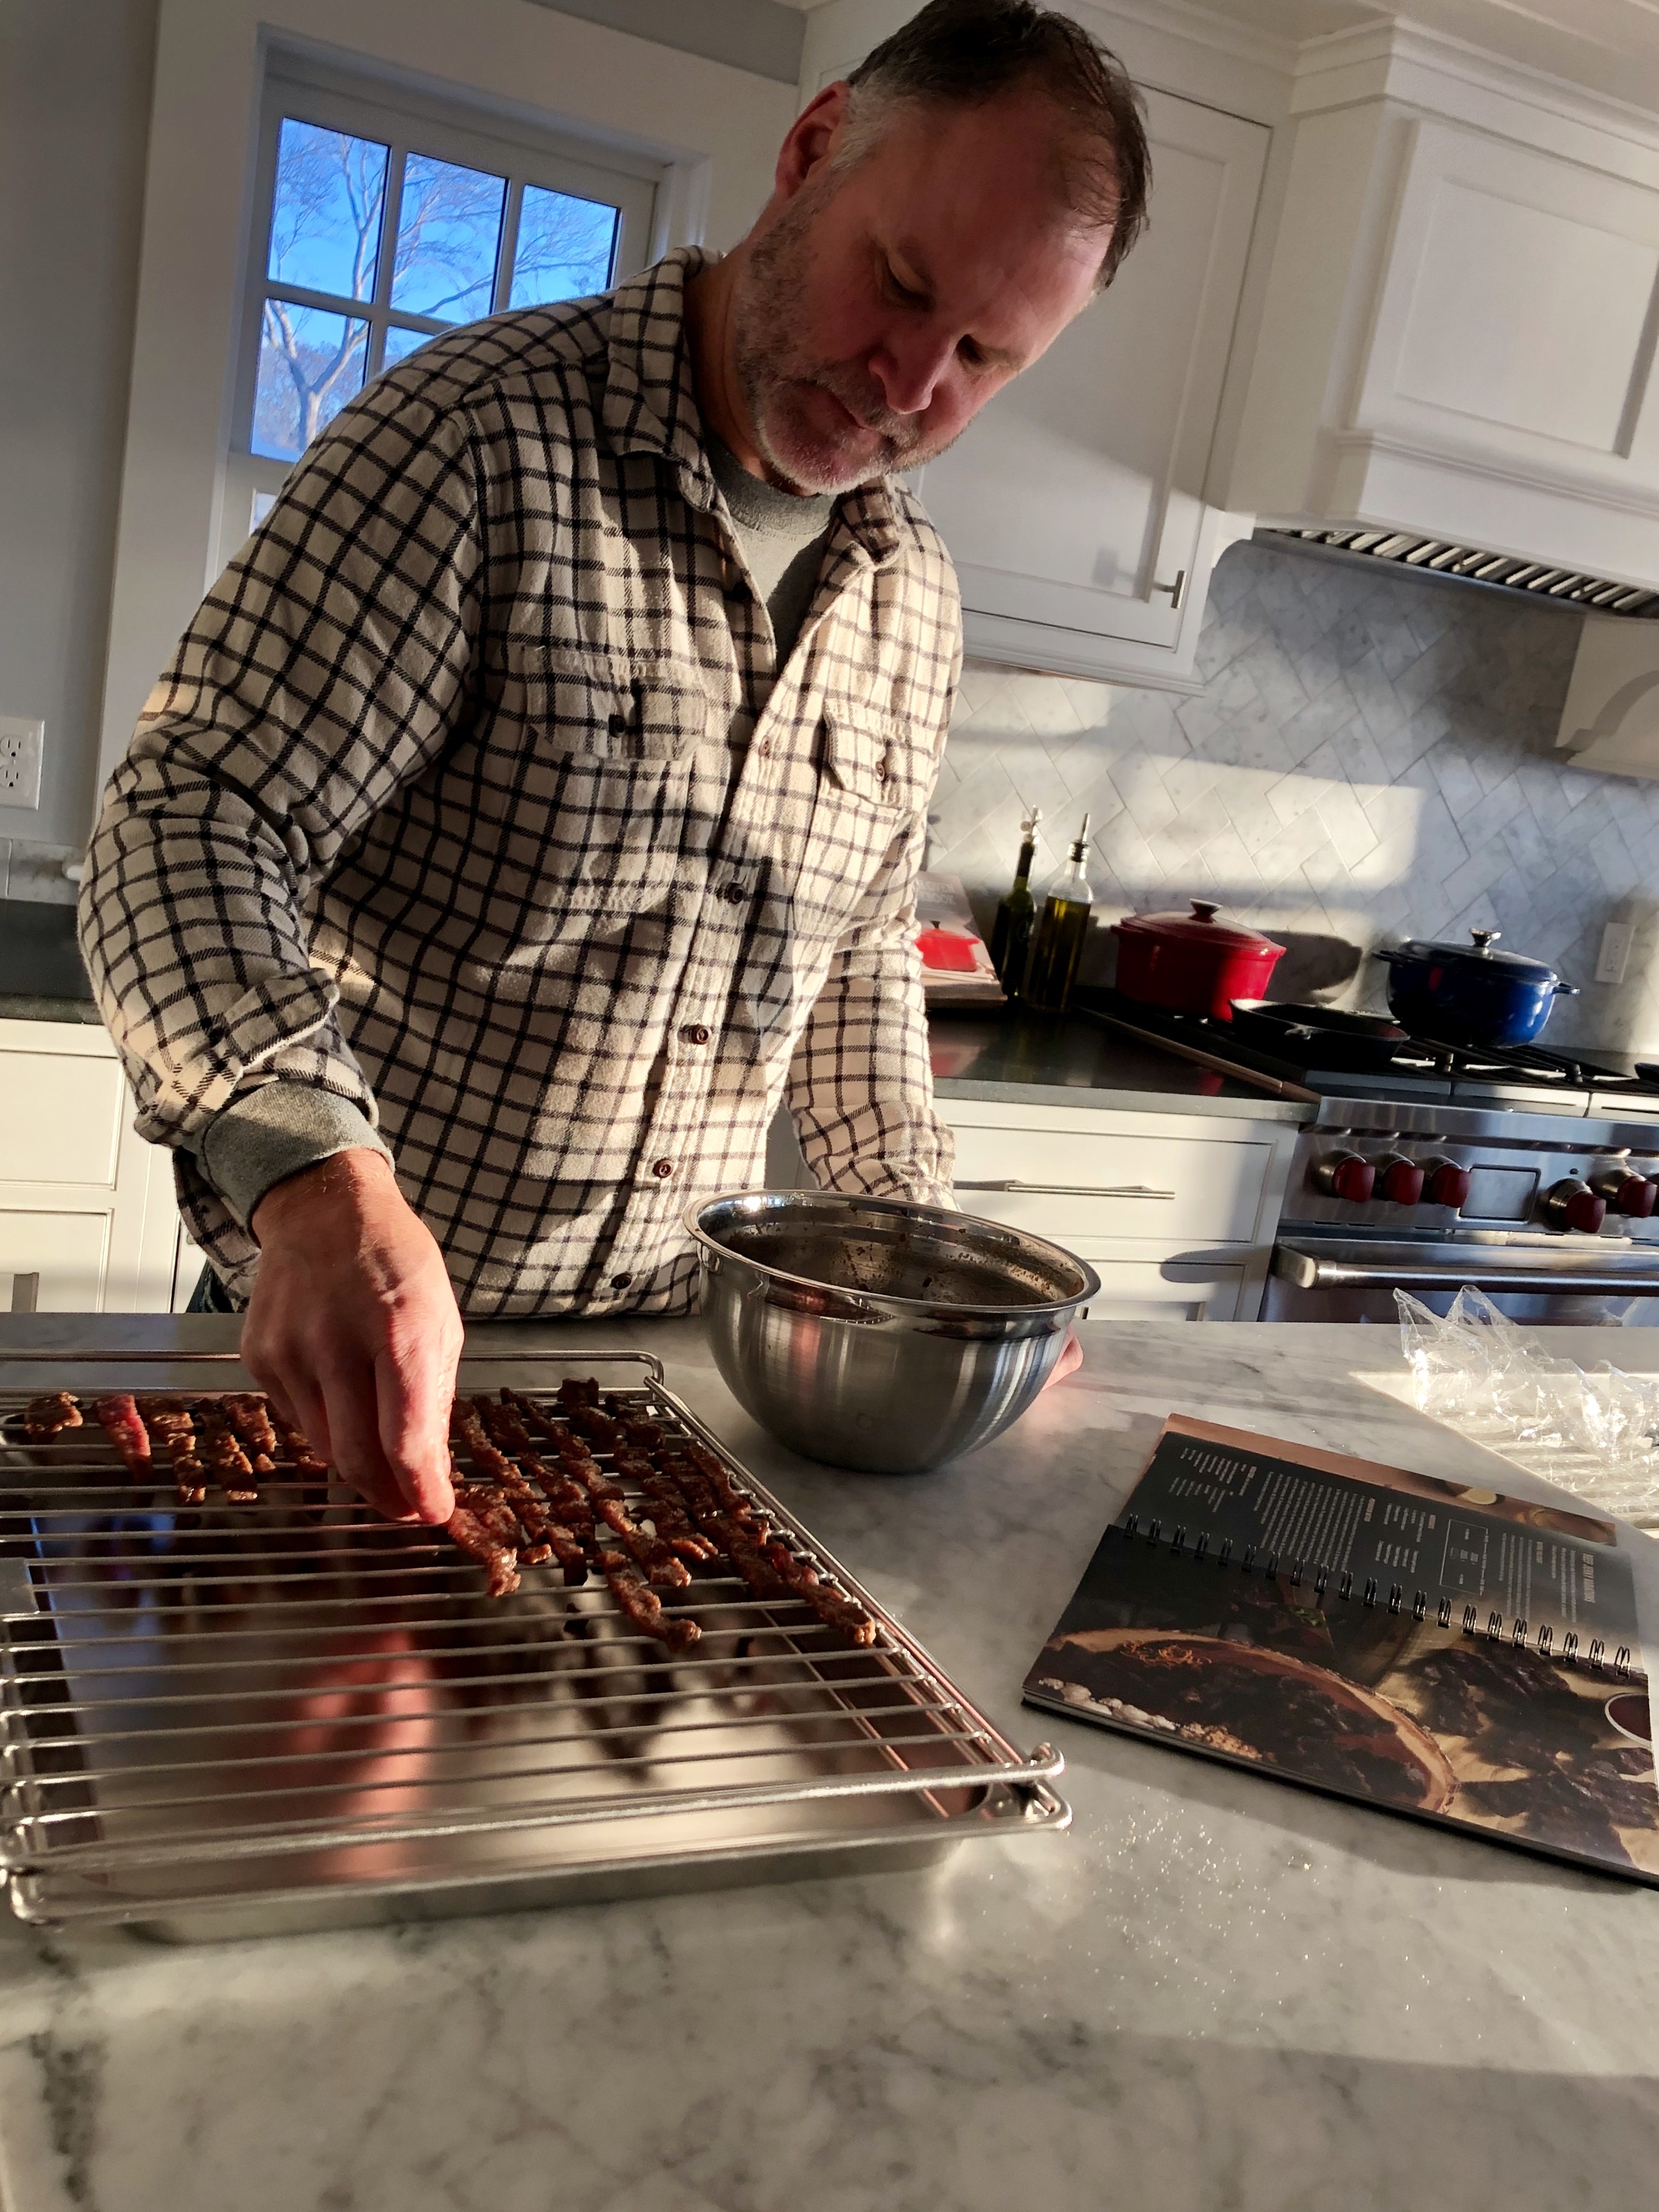
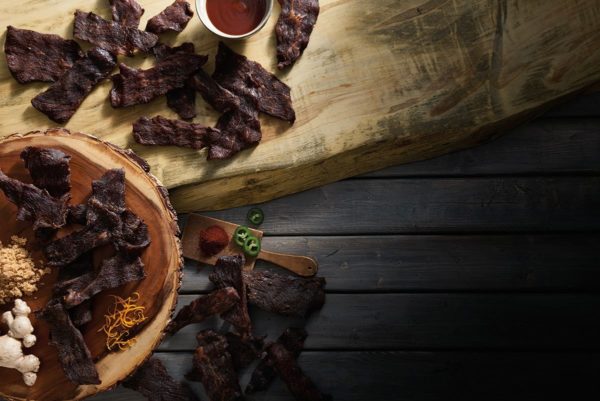
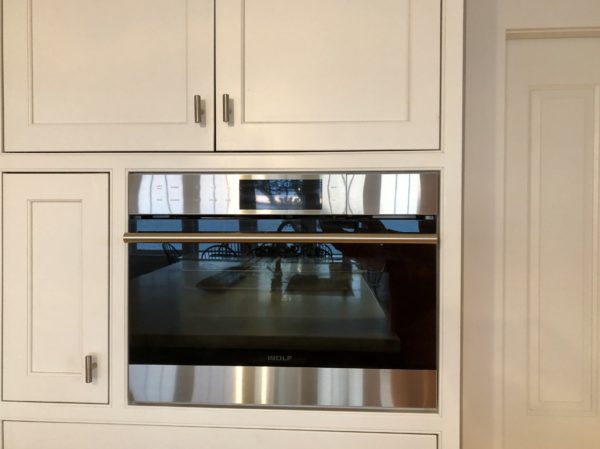
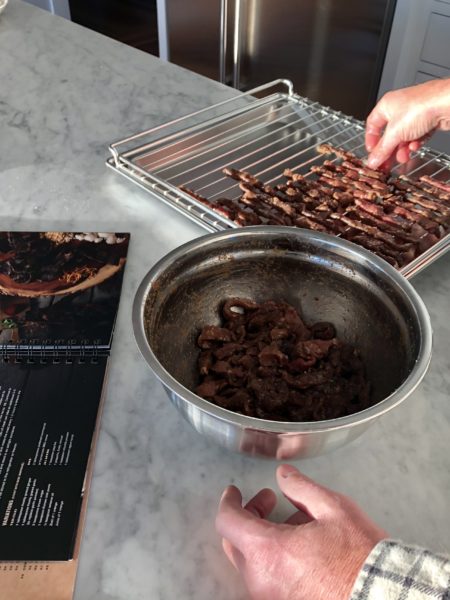
This tasty treat is one that was made by our very own Eric Thorson but comes courtesy of the Wolf’s “Mastering the Convection Steam Oven” Cookbook.  You see,  Eric & Stacy underwent a renovation of their own recently and in the process learned alot about the Subzero and Wolf appliances that they chose to use in their newly renovated kitchen. The process of selecting their appliances took them to the Clarke Showroom in Milford, MA which if you have never experienced is a showroom unlike any other. What makes it so unique is the no-pressure atmosphere and the focus on education and the client experience. No appliances are actually sold there (hence the lack of pushy sales people) but the showroom features a plethora of fully functioning appliances that you can “test drive” on the spot or do as Eric & Stacy did and join in one of their regularly scheduled cooking demonstrations that help you understand how to use the many functions of your Sub zero & Wolf Appliances all while watching a master chef at work (and getting to eat the resulting gourmet treats)!

The journey to discover the many functions of each appliance and which would be of most use to Eric & Stacy in their day to day cooking endeavors was one that actually helped them to better serve our clients as well. Both Eric and Stacy have shared their new found appliance knowledge with our clients so they too can make educated decisions on  which appliances would be the best fit in their new kitchens.

The  Wolf Convection Steam oven has created the most buzz by far; for an appliance with a bad reputation for being a “uni-tasker” (to quote Alton Brown) -or an appliance that only does one thing, like steam vegetables, this steam oven proved that wrong on so many counts and has turned out to be Eric & Stacy’s new go-to appliance. They have tested the oven with everything from risotto (that doesn’t need a babysitter) to perfectly “boiled” eggs and even, yes, beef jerky!

Stacy noticed that their new appliance knowledge has inspired Eric to be more active in the kitchen and try new things that they otherwise may not have thought of. One such occasion was the day she happened upon Eric whipping up some homemade teriyaki beef jerky. The photos here were not staged, Eric, armed with the Wolf Cookbook and the eagerness of a child learning a new skill was happily arranging his pre-marinated steak pieces artfully on the gleamingly new integrated cooking rack.  After 4-6 hours in the Wolf Convection Steam Oven on the “convection mode” …Voilla! Eric had himself a perfect pound of tasty home made teriyaki beef jerky that admittedly didn’t last long in their household.

So in honor of this magical real life moment we thought we’d share with you the recipe!

Teriyaki Beef Jerky

Makes 10 Servings

Cooking Time 4-6 Hours

INGREDIENTS 2-21⁄2 pounds beef round or flank, thinly

sliced

¼ cup soy sauce
¼ cup Worcestershire sauce

2 tablespoons water
1 tablespoon onion powder
2 teaspoons garlic powder

1 teaspoon celery salt
1 teaspoon black pepper
1 teaspoon brown sugar
2 teaspoons kosher salt

TERIYAKI
1 tablespoon freshly grated ginger
1 tablespoon freshly grated garlic
(to replace garlic powder)
2 teaspoons brown sugar
1 teaspoon Korean chili paste
½ teaspoon sesame oil
Zest of 1 orange
Juice of 1 orange

PREPARATION METHOD
1. Have the meat sliced very thin by a butcher at time of purchase, rather than attempting it by hand.

2. In a large bowl, combine all marinade ingredients and mix well to combine.

3. Dip each piece of meat individually into the bowl to ensure an even coating.

4. Allow to sit for at least 3-4 hours or overnight.

5. When ready to cook, drain off excess marinade and lightly pat meat dry with a paper towel.

6. Lay strips out flat on the wire racks. The edges of the meat can touch, but the meat should not overlap or
be folded in any way.

7. Place the racks into the oven on positions 2 and 4. Place the solid pan on rack position 1 to catch any drips.

8. Leave the door slightly ajar and select the Convection Mode set to 150°F. Dehydrate for 1 hour.

9. After an hour, flip over the meat and rotate the racks.

10. Continue to cook until the meat develops a stiff, leathery texture. Thicker cuts of meat can take an additional 3-5
hours or longer to dehydrate and cooking rates vary if using a conventional oven.

11. Continue to flip and rotate the meat every 1-2 hours to ensure the jerky has a uniform texture.

12. Cool and store in an airtight container. The jerky can also be stored in the refrigerator or freezer.

BEFORE YOU START
You will need both of the wire racks that came with your Wolf Convection Steam oven (or any oven safe wire racks if using a conventional oven). It is also helpful to have the solid oven pan to catch drips as you lay out the strips of meat across the racks. Surprisingly, you will also need a colander to drain off the excess marinade. This provides a much cleaner way of handling the strips of meat than removing them one at a time from the zip-top bag.

Recipe courtesy of Wolf’s “Mastering the Convection Steam Oven” guide


Mitered Edge Countertops

Design Trends

Mitered Edge Countertops

We are seeing more homeowners who want their counters to be thicker in appearance. A substantial edge on a counter creates a modern look but the aesthetic has crept into even some of the most traditional kitchens and baths and adds impact regardless of the style of the space.

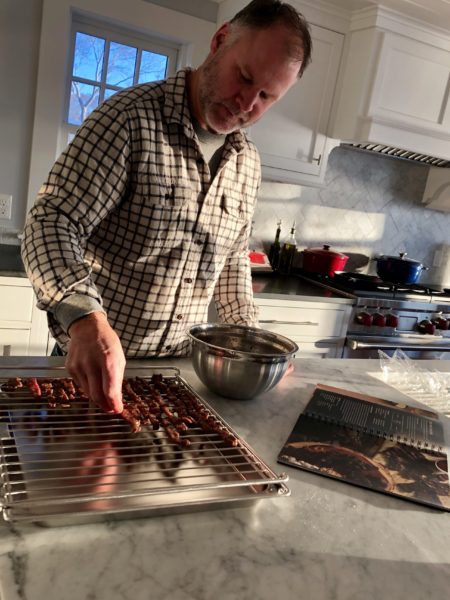
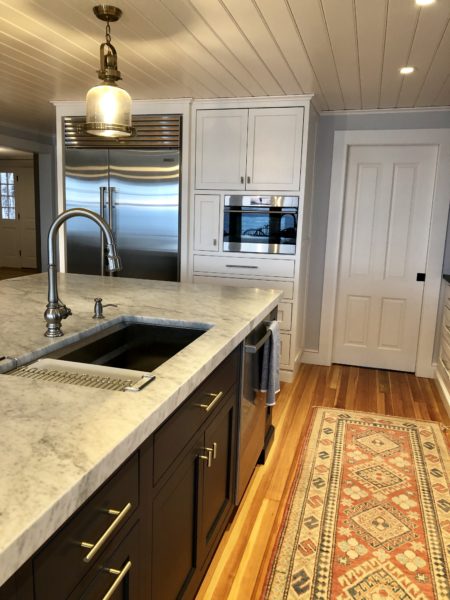
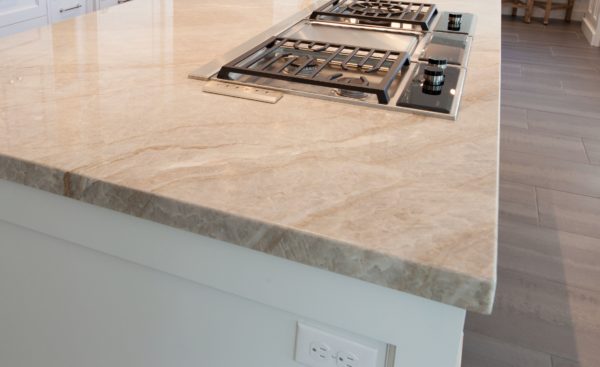
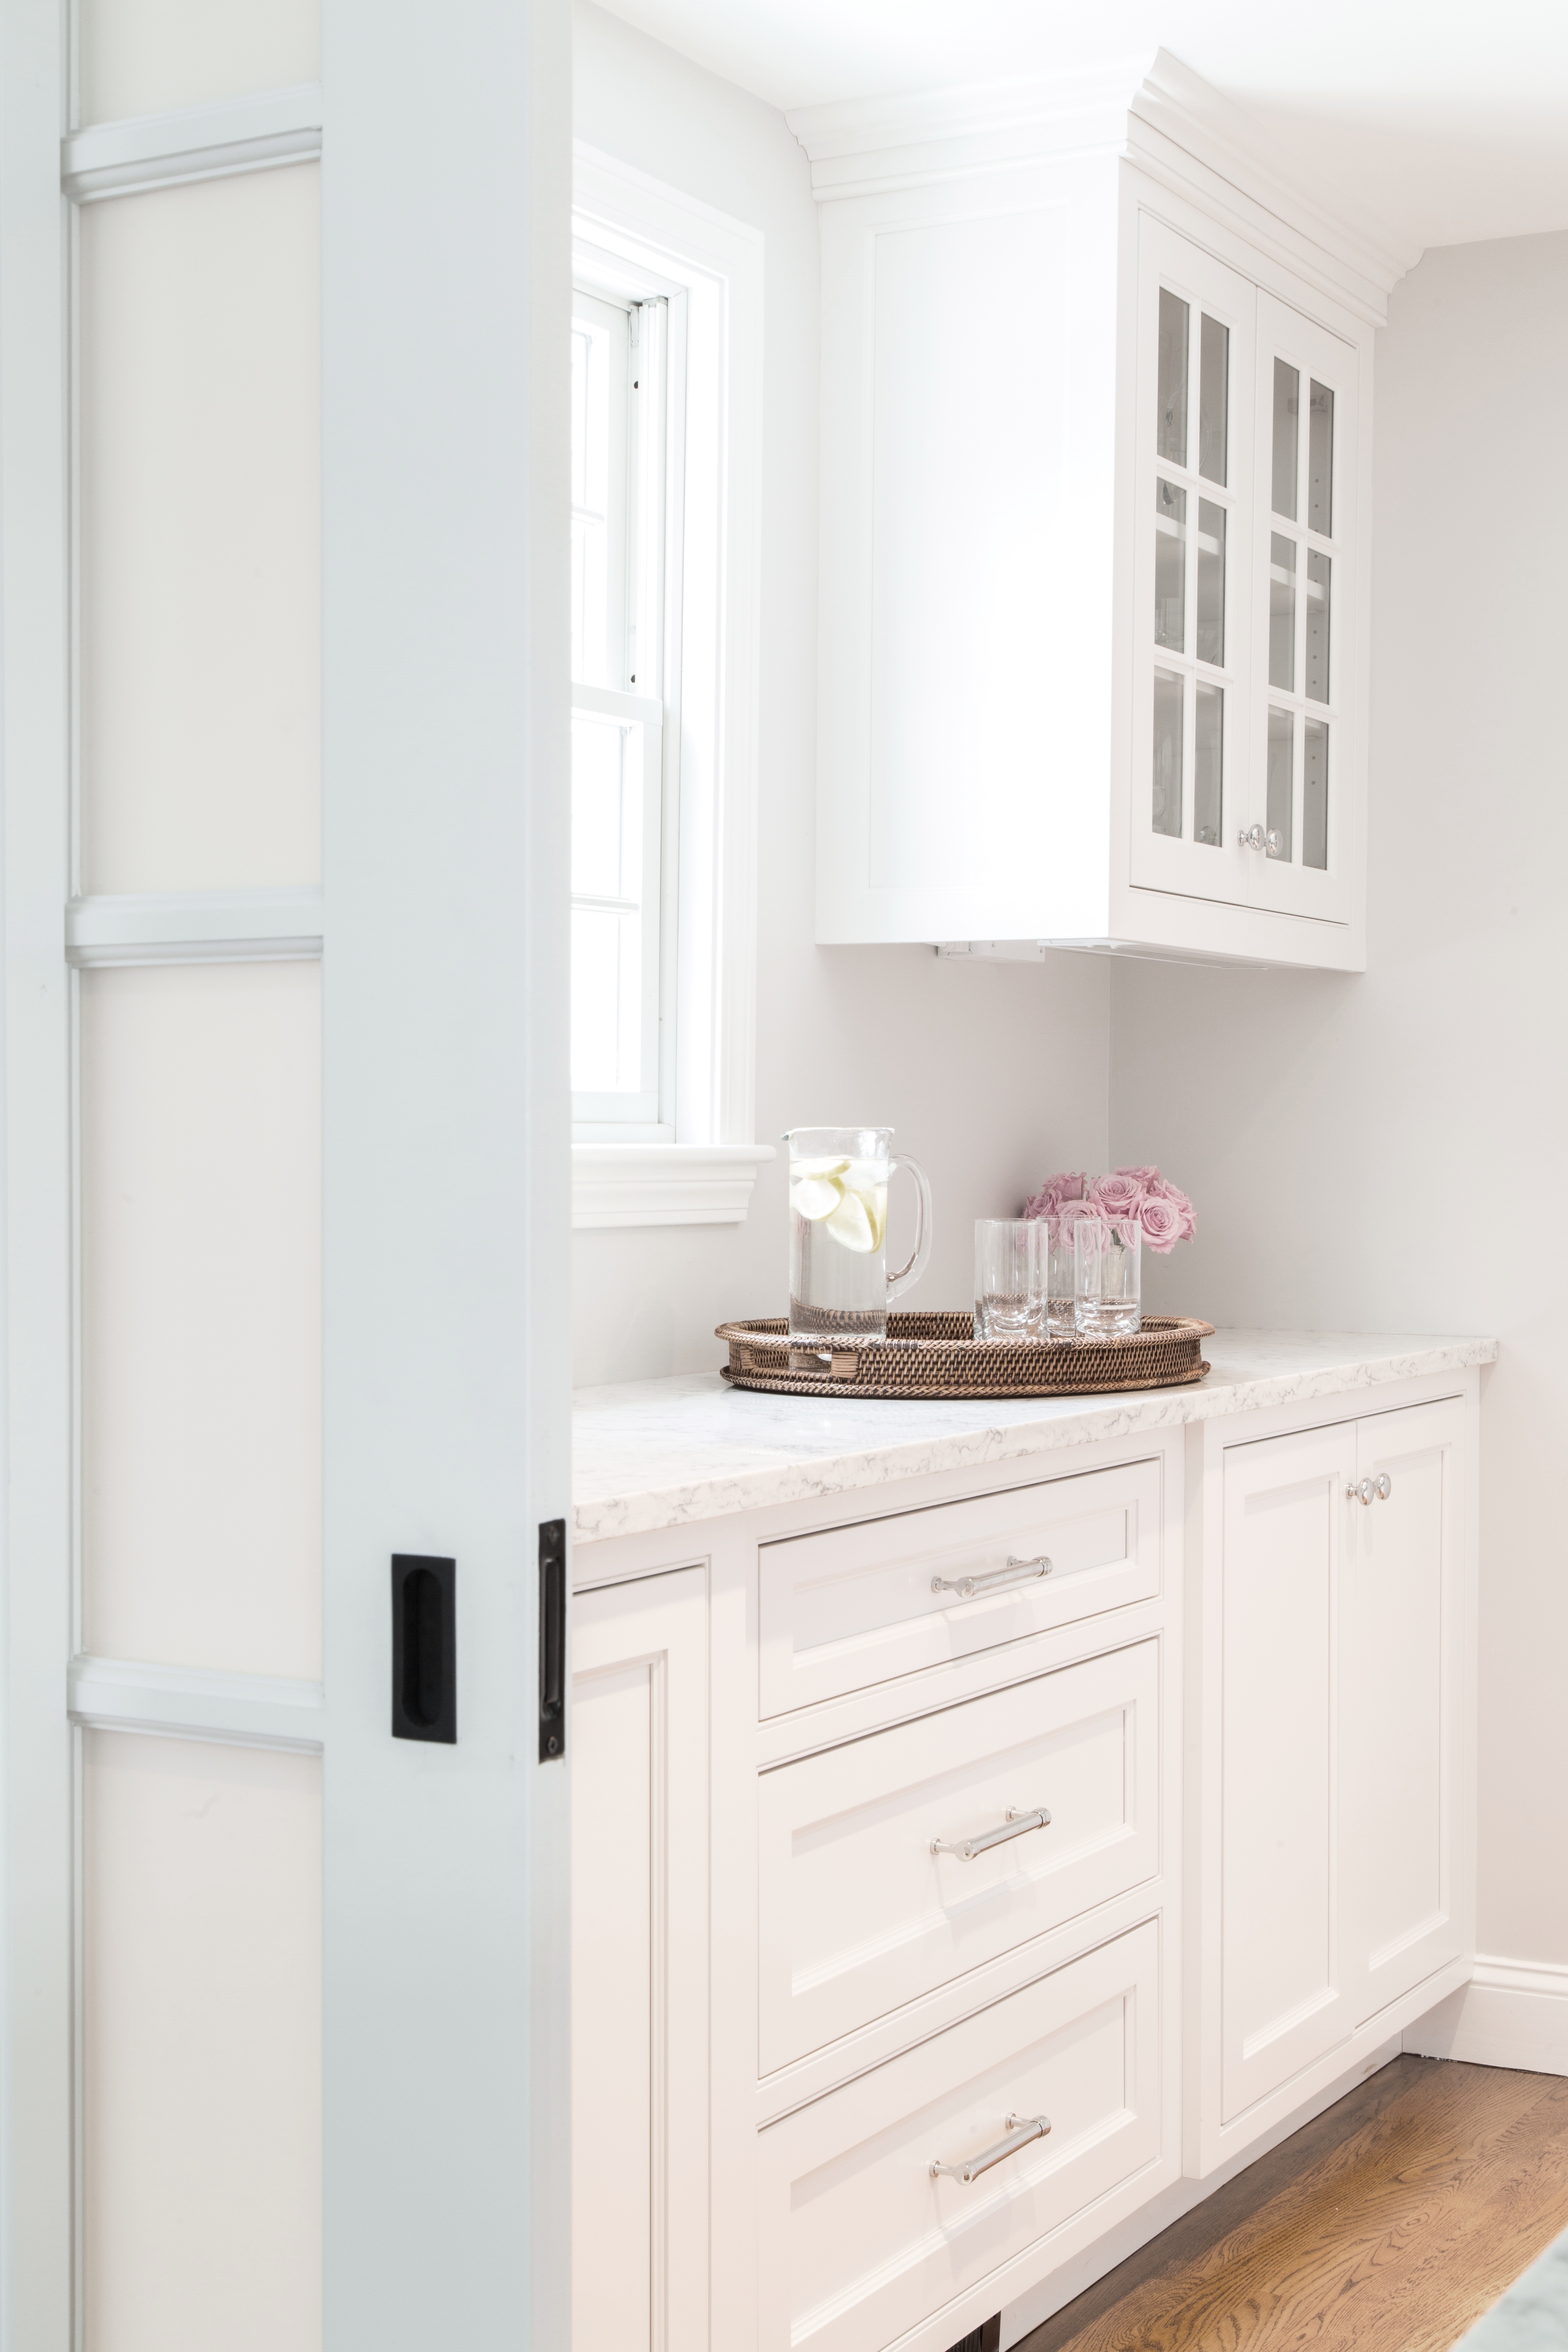
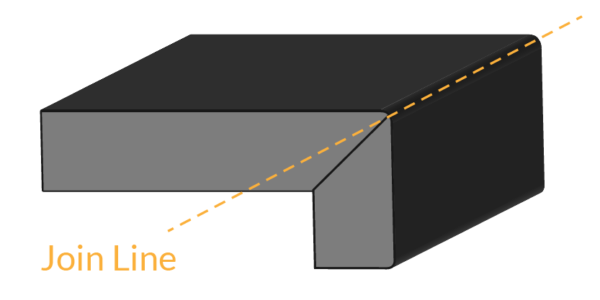
What most don’t know about these thicker counters is that they are actually a mitered edge. It is very uncommon (and costly) to have a stone slab cut at a thicker depth. It would make the stone almost unmanageable for installation and may even be too heavy for most cabinetry that would support it.

A standard counter thickness ranges anywhere from 3/4″ – 1 1/8″. To achieve the thicker edge two pieces of stone are cut at a 45 degree angle and joined together on all visible sides of the counter. The joints are barely visible even upon close inspection and give the appearance of a solid slab of stone. When done correctly the veining in the stone appears to continue over the edge, adding to the illusion. Because each counter is custom fabricated you can make the edge any thickness you desire but proper planning is key. 

If you are considering a mitered edge counter for your next project you’ll have to inform your cabinet designer early in the planning process. Cabinet heights are usually based on standard counter thicknesses. If your counters are approaching 2+ inches or more in thickness it may affect the feel of the finished height of the counter. You will need to factor in your height and preference for a comfortable working height of your counters. If the height difference doesn’t bother you then you may be able to stick with standard height cabinets but dependent upon the thickness you choose you may need a more custom cabinet base option to account for the added thickness. Your preferences should be worked out well in advance with your design and building professionals so all factors can be considered.

Many of our clients opt for the mitered edge detail on only a portion of the counters in their kitchen.  The photos below from our Lincoln Kitchen & Interior Project are an example of a mitered edge just on the island but standard edge thickness on the perimeter. The white quartz center island becomes a beautiful focal point  and the thick mitered edge is even more dramatic against the warm walnut wood tones of the island. 


If you’d like to incorporate a mitered edge countertop into your next project, contact us to start planning!