Category: Thorson Tasty Treats

Watermelon Mint Mojito

If your garden is in full swing and you’re looking for the perfect summer refresher, our watermelon mint mojito recipe is super delicious and refreshing! This recipe easily becomes a go to for when you are relaxing on the porch or even hosting a summer cookout with family and friends.

Ingredients: 

Grab your favorite cocktail glasses and a friend, as this recipe is enough to be enjoyed by two!      

  • 2 cups watermelon                                                                             
  • Handful of fresh mint leaves
  • 4 limes; freshly squeezed.
  • 1 oz simple syrup
  • 4-ounces white rum
  • chilled lime club soda water

Directions

  • Combine your watermelon, mint leaves, and lime juice in a shaker and muddle until watermelon and mint leaves are crushed.
  • Fill your shaker with lots of ice and add simple syrup and rum – Shake until ice cold!
  • Fill glasses halfway with ice and pour contents of shaker into glasses.
  • Top with chilled club soda and mix gently.
  • Add a slice of watermelon, lime, and mint for garnish – Enjoy!

Street Corn Craze

Ingredients:

  • 2 tablespoons vegetable oil
  • 4 ears fresh corn, shucked (about 3 cups fresh corn kernels)
  • Kosher salt
  • 2 ounces feta or Cotija cheese, finely crumbled.
  • 1/2 cup finely sliced scallions.
  • 1/2 cup fresh cilantro leaves, finely chopped.
  • 1 jalapeno pepper, seeded and steamed, finely chopped.
  • 1 to 2 medium cloves garlic pressed or minced.
  • 1tablespoon mayonnaise 
  • 1 tablespoon fresh lime juice
  • Chili powder or hot Chili flakes, to taste. 

Directions:

  • Heat oil in a large non-stick skillet or work over high heat until simmering. Add corn kernels, season to taste with salt, toss once or twice, and cook without moving until charred on one side. Toss corn, stir, and repeat until charred on second side. Continue tossing and charring until corn is well charred all over, about 10minutes total. Transfer to a large bowl.
  • Add cheese, scallions, cilantro, jalapeno, garlic, mayonnaise, lime juice, and Chili powder. Combine ingredients, toss, and serve!

Christmas Charcuterie Cheer

Christmas Charcuterie boards are a fun and festive way to display your holiday treats! Whether you are looking for something savory, sweet, or a little of both, these boards are sure to bring all the Christmas cheer to your Holiday table! Select your favorite holiday shape and let’s build a board! Here you’ll find lots of helpful ideas, tips, and tricks for the perfect Holiday board.

Christmas Tree Charcuterie 

Let’s start with a favorite Christmas staple, the tree!

While this tree does have several types of cheeses, it is also complimented by a few selections of meats and fruits. My favorite touch is the star of the tree, a rose sculpture made out of salami.

Salami roses are easy to prepare, delicious, and provide a unique way of making the charcuterie board stand out. All you’ll need is a few thin salami slices and a small glass for sculpting.

Step 1: For the first layer, fold one salami slice in half and place over the rim of the glass. Make sure half of the salami slice is inside the glass and the other half is outside the glass. Add another slice and overlap the first slice. Repeat the steps with 2 or more slices which should cover the rim of the glass.

Step 2: For the next few layers, place the salami layers so that more of the salami is inside the glass rather than outside.

Step 3: As you continue to add rows you will be left with a small hole in the center. Cover the glass with a small plate and turn the glass over. Push down on the salami flower while twisting the glass slightly to help set the rose.

Now you have a tree topper! Finish the tree with lots of herbs to give a lively Christmas tree feel.

Candy Cane Charcuterie 

Another festive favorite is the candy cane board – filled with savory and sweet treats. This board is super colorful and will catch anyone’s eye on your holiday table. 

For the white ingredients: you can you a Varity of cheeses such as feta cheese, baby bell cheese, mini brie, and mozzarella. Add in white chocolate pretzels and macadamia nuts and you have the perfect pairing. 

For the red ingredients: you can use raspberries, strawberries, cherry tomatoes, and sugared cranberries. Add in a touch of pepperoni or prosciutto for a salty balance. 

Tips & Tricks: You can use a toothpick to keep the folded meat in place. To keep the cheese from drying out, you’ll want to make the board right before serving. Fresh rosemary springs make a great decoration!


Christmas Wreath Charcuterie 

Filled with Christmas colors and delicious cheeses and meats – this holiday wreath is meant to be eaten!

Start by setting the wreath with a garnish of rosemary – this will tie everything together once complete.

Popular cheeses for this spread include cranberry goat cheese, garlic herb brie, and English cheddar cheese. These cheeses pair well with sliced apples, sugared cranberries, blueberries, and pomegranates – which also serve as great red berries for the wreath! And of course, you’ll want to add a variety of your favorite meats.

Add a decorative touch with a jellied brie – To make this festive, simply cut the brie in half and add in your favorite jam. Using the top layer of the brie, use a cookie cutter to make a cut out of the center!

Cranberry Harvest Butter

Tart and savory crock pot cranberry butter is a fall staple in Olivia’s kitchen – what better timing than to share this delicious recipe before the holidays arrive. This treat pairs well with biscuits, scones, rich cheeses, and is even a great spread to have on the table during Thanksgiving dinner. 

You’ll want to bring a jar with you to every fall get together!

Ingredients:

  • Three 12 oz bags of cranberries (rinsed)
  • 2 Cups of brown sugar
  • 1 tbsp. lemon juice
  • 2 tsp. vanilla extract
  • Dash of nutmeg
  • 2 cinnamon sticks 
  • Orange zest (half an orange)
  • 1/4 cup maple syrup

Directions:

  • Wash the cranberries and pour them into the crock pot.
  • Next, peel the zest off the orange, add it to the slow cooker. Toss in the cinnamon sticks too. 
  • Add 1/4 cup maple syrup. The flavor combination of maple, orange, cinnamon and cranberry is too good! 
  • Add remaining ingredients: lemon juice, vanilla extract, nut meg, and brown sugar. 
  • Stir and cook on low for 4 – 6 hours. 
  • Now, use an immersion blender (or regular blender) to get the perfect consistency! If too thick, add in a touch of water. 


Rhubarb Zucchini Bread

Everyone loves a recipe that is not only super easy but extremely delicious! Rhubarb Zucchini Bread has the perfect hint of tart and savory goodness. This is a favorite in the Thorson office – we’re sure it’ll be a favorite of yours!

Ingredients:

  • 1 Egg
  • 1/3 cup + 1 tablespoon white sugar
  • 1/3 cup brown sugar
  • 1/3 cup vegetable oil
  • 1/4 cup plain nonfat Greek yogurt
  • 2 teaspoons vanilla extract
  • 1 teaspoon fresh lemon zest
  • 1 1/4 cup flour
  • 1/2 teaspoon baking powder
  • 1/2 teaspoon baking soda
  • 1 cup shredded zucchini
  • 1/2 cup rhubarb (about 1 large stalk) finely chopped
  • 3 additional stalks rhubarb to top

Instructions:

  1. Preheat oven to 350 degrees F. Coat an 8.5 x 4.5-inch loaf pan with cooking spray and set aside.
  2. In a large bowl, add 1/3 cup white sugar, brown sugar, vegetable oil, yogurt, vanilla, fresh lemon zest, and whisk in egg.
  3. Add flour, baking powder, and baking soda and stir just until moistened. Don’t over mix. Gently fold in zucchini and chopped rhubarb until well combined.
  4. Transfer batter to your prepared pan and smooth evenly. Slice extra rhubarb stalks in half the long way, remove the backs, but keeping the front -facing part of the rhubarb intact. This takes some of the weight off and keep them from sinking. Lay across the top of your loaf and sprinkle with 1 tablespoon sugar.
  5. Bake 40-35 minutes or until a toothpick entered into the center comes out clean. Wet crumbs are okay if you like your moist. Let cool in the pan 10 minutes before turning out onto a wire rack to cool completely.

Jill’s Fitness Fuel

Searching for the perfect healthy balance of savory & sweet? Jill’s fitness fuel serves a delicious mixture of granola clusters giving just the right amount of energy you need.

In the Muldoon household, this treat stays a fan favorite and is usually made around the holidays as gifts. Hints of nutty goodness & a coconut maple glaze will have you making this treat for every family gathering!

Need the perfect treat for your special Valentine? Simply mix in red & pink M&M’s for a sweet valentine’s touch!

Ingredients:
3 Cups rolled oats
1 heaping cup flaked unsweetened coconut
1 heaping cup sliced almonds
1/2 cup chopped pistachios
1/2 cup chopped hazelnuts 
1/4 cup ground flax seeds
1/2 cup coconut oil, melted
1/4 cup real maple syrup
1 teaspoon cinnamon
1 teaspoon salt
1/2 cup raisins or craisins (sweetened with fruit juice)

Instructions:
Preheat the oven to 300 degrees.
Mix everything (except the raisins) in a large bowl. Spread the mixture on a large baking sheet in a thin layer.
Bake for 30 minutes, stirring mixture every 10 minutes. Stir in the golden raisins and bake for an additional 15 minutes.
Let the Granola sit on the baking sheet for another 10-15 minutes so that clusters can form. - ENJOY!

Cookies for Wrigley

Anyone who has had a dog knows that they are easy to please, a few belly-rubs here and there, a comfy couch and a good meal (it doesn’t seem to matter what kind of food) are always welcome. Anyone who knows Wrigley Thorson, our beloved office mascot, knows that food, treats, cookies, etc. are always top on his list. So, we thought we’d share with you a fun and easy recipe that Wrigley loves and we think your pooch might too.

This recipe calls for canned pumpkin (please use pure pumpkin and not pumpkin pie filling), but it can also be used with mashed bananas.

Everything can get tossed into one bowl and you only need 5 ingredients. This way, you’ll know exactly what your dog is eating and you can feel good about giving him or her a few (ok, maybe more than a few) daily.

The recipe is easy:

Recipe courtesy of Mom on Timeout

Ingredients

  • 1 cup pumpkin puree (please be sure to use pure pumpkin and not pumpkin pie filling) OR you can swap out mashed bananas
  • 2 eggs
  • 1/3 cup peanut butter natural, (nothing with Xylitol or substitute sweeteners)
  • 2 cups whole wheat flour 
  • 1/2 tsp pumpkin pie spice or cinnamon (please check your pumpkin pie spice for nutmeg as it’s toxic to dogs)

If you really want to get crazy and blow your dog’s mind, add some mashed blueberries.

Instructions

  • Preheat oven to 350F. Line a large baking sheet with a silicone baking mat or parchment paper.
  • In a large bowl, combine pumpkin, eggs, and peanut butter. Stir until completely combined.
  • Add in flour and pumpkin pie spice (or cinnamon) – stirring just until combined.
  • Lightly flour a flat surface and roll out dough to one quarter inch, using flour as needed to keep dough from sticking.
  • Cut shapes out of dough and place on prepared baking sheet.
  • Bake for 20 to 40 minutes – depending on desired level of crunchiness.
  • Remove treats from oven and let cool on a cooling rack. Store in an airtight container for up to 1 month in the refrigerator or 6 months in the freezer.

Ginger Crinkle Cookies

Nothing says the holidays like a beautiful platter of freshly baked cookies. Every year, our Office Manager Jeni, kicks off the holiday season with a cookie party, a celebration of baking where her family and friends bring a few batches of their favorite confections, filling themselves with sweet treats. This year’s party was well attended and one cookie stood out from the rest…here’s more about it from Jeni:

This year was our 8th year holding the cookie swap and the same ladies come every year, looking forward to an afternoon without children or spouses and a time to enjoy a glass of champagne or a hot cup of coffee with friends who enjoy baking…and eating.

This Ginger Crinkle cookie this year was by far the crowd favorite – it was just sweet enough with a delicious bite of ginger, great with coffee, tea or a little spiked egg nog.

The coveted Ginger Crinkle Cookie

The recipe can be tweaked a little bit to add a little more or less ginger, cloves or molasses, depending on your taste. Also, we have used granulated sugar or sanding sugar rather than turbinado – either way is just delish.

We hope you enjoy these cookies as much as we do. You may want to make a double or triple batch because they go fast. Here’s how you can whip up a batch of your new favorite cookie:

Recipe courtesty of Jamie Deen.

Ingredients:

2 cups all-purpose flour

2 teaspoons baking soda

1 1/2 teaspoons ground ginger

1 teaspoon ground cinnamon

1/2 teaspoon kosher salt

1/4 teaspoon ground allspice

1/4 teaspoon ground cloves

1/2 cup vegetable shortening

1/4 cup unsalted butter, softened

1/2 cup firmly packed light brown sugar

1/2 cup granulated sugar

1/4 cup molasses

1 large egg

1/4 cup plus 1 tablespoon turbinado sugar

Directions:

  1. Preheat the oven to 350 degrees F. 
  2. In a medium bowl, whisk together the flour, baking soda, ground ginger, cinnamon, salt, allspice and cloves. Add the shortening, butter and the brown and granulated sugars to the bowl of a standing mixer fitted with a paddle attachment. Beat on medium speed until light and fluffy, 3 to 4 minutes. Slip in the molasses and egg and beat until well incorporated. 
  3. Add the flour mixture by scoopfuls and beat until combined. 
  4. Add the turbinado sugar to a small plate or bowl. Roll the dough into balls that are 1 inch in diameter (1/2 ounce in weight), then roll in the sugar. Place 12 balls on a baking sheet 2 inches apart. Bake the cookies 9 to 11 minutes, rotating halfway through the baking time. Cool on the baking sheets for 4 minutes, then continue cooling on wire racks. Repeat with the second batch.

A Sweet and Simple Thanksgiving Day Cocktail

What better way to welcome your guests and ring in the holidays than with a beautiful cocktail? Whether you are hosting at home or bringing a little something to share in the Thanksgiving feast, this cocktail is sure to please. 

With the sweetness of roasted black grapes and the earthy tones of sage, this drink hits all the right notes and is a great accompaniment to turkey or even pork loin or chicken to make those weekday meals a little more special. 

We hope that you enjoy this cocktail and add it to your holiday meals for years to come.

Off the Vine: Recipe and photos courtesy of Olive Jude

Here’s how to make it:
Prep Time 2 mins
Cook Time 30 mins
Total Time 32 mins

Ingredients:

  • 5-6 sage leaves
  • 12-15 black grapes
  • 2 ounces vodka
  • ginger ale

Instructions:

  1. Preheat the oven to 400 degrees. 
  2. Line a baking sheet with parchment paper and scatter the grapes on it. 
  3. Roast for 30 minutes until the grapes begin to shrivel a bit but not burst. 
  4. Remove from the oven and let cool. 
  5. To a cocktail shaker, add the sage leaves and the roasted grapes, reserving at least one grape for garnish.  
  6. Muddle to release the grape juices and break up the sage. 
  7. Add ice and your favorite vodka. 
  8. Give it a good shake. 
  9. Add ice to a glass and strain the mix over it. 
  10. Top with ginger ale and garnish with a sage leaf and a roasted grape. 

Cheers and Happy Thanksgiving! 

Tuna Tartare

Tuna Tartare with Sesame Ginger Sauce

Living in Coastal New England affords most of us the opportunity to have seafood on a regular basis and most every New Englander knows that when it comes to seafood, freshness is paramount. Fresh seafood is even more important when you are planning to make a dish like Tuna Tartare which;  for any who don’t know, is served raw.

Eric and Stacy happened upon some tuna that was fresher than they had ever seen because their neighbor had literally just returned from a fishing excursion with the giant fish in tow.  When he offered up a portion to share they of course could not refuse.

Now that they had this jewel toned beauty of a fish what would they make?  They wanted something that would let the quality of the fish shine so of course thought of Tuna Tartare. Simple to prepare but a combination of flavors that bring the umami depth that any foodie would appreciate.  The recipe they settled on was slightly edited to their taste so here’s their version which they said did not disappoint!

Tuna Tartare Ingredients

1/2-1 lb of sushi grade Tuna, cut into small cubes
4 green onions,(white & green parts) finely chopped
2 tbsp toasted sesame seeds
1 avocado, cubed
1/2 cup diced cucumber
A handful of cilantro, chopped
1 tbsp lime juice
1 red chili -seeds removed & diced (optional)
salt & pepper to taste

Sauce

2 cloves of garlic, minced
1 tbsp. grated ginger
2 spring onions, chopped
2 tbsp soy sauce
1 tbsp sesame oil
1 tbsp rice vinegar
1 tbsp honey

Instructions

1. Add all the sauce ingredients to a bowl and mix & set aside.

2. Add the chopped tuna, green onions and sesame seeds directly to the bowl of sauce and mix until combined.

3. In a separate bowl, mix together the finely chopped avocado, cucumber, cilantro, lime juice, salt, and pepper.

4. To plate your tartare you can choose to use a mould, or a circular ramekin or you can take a more rustic approach and just loosely layer the ingredients on a nice serving dish and serve with your favorite cracker or crostini.

Eric’s Homemade Beef Jerky

Homemade Teriyaki Beef Jerky

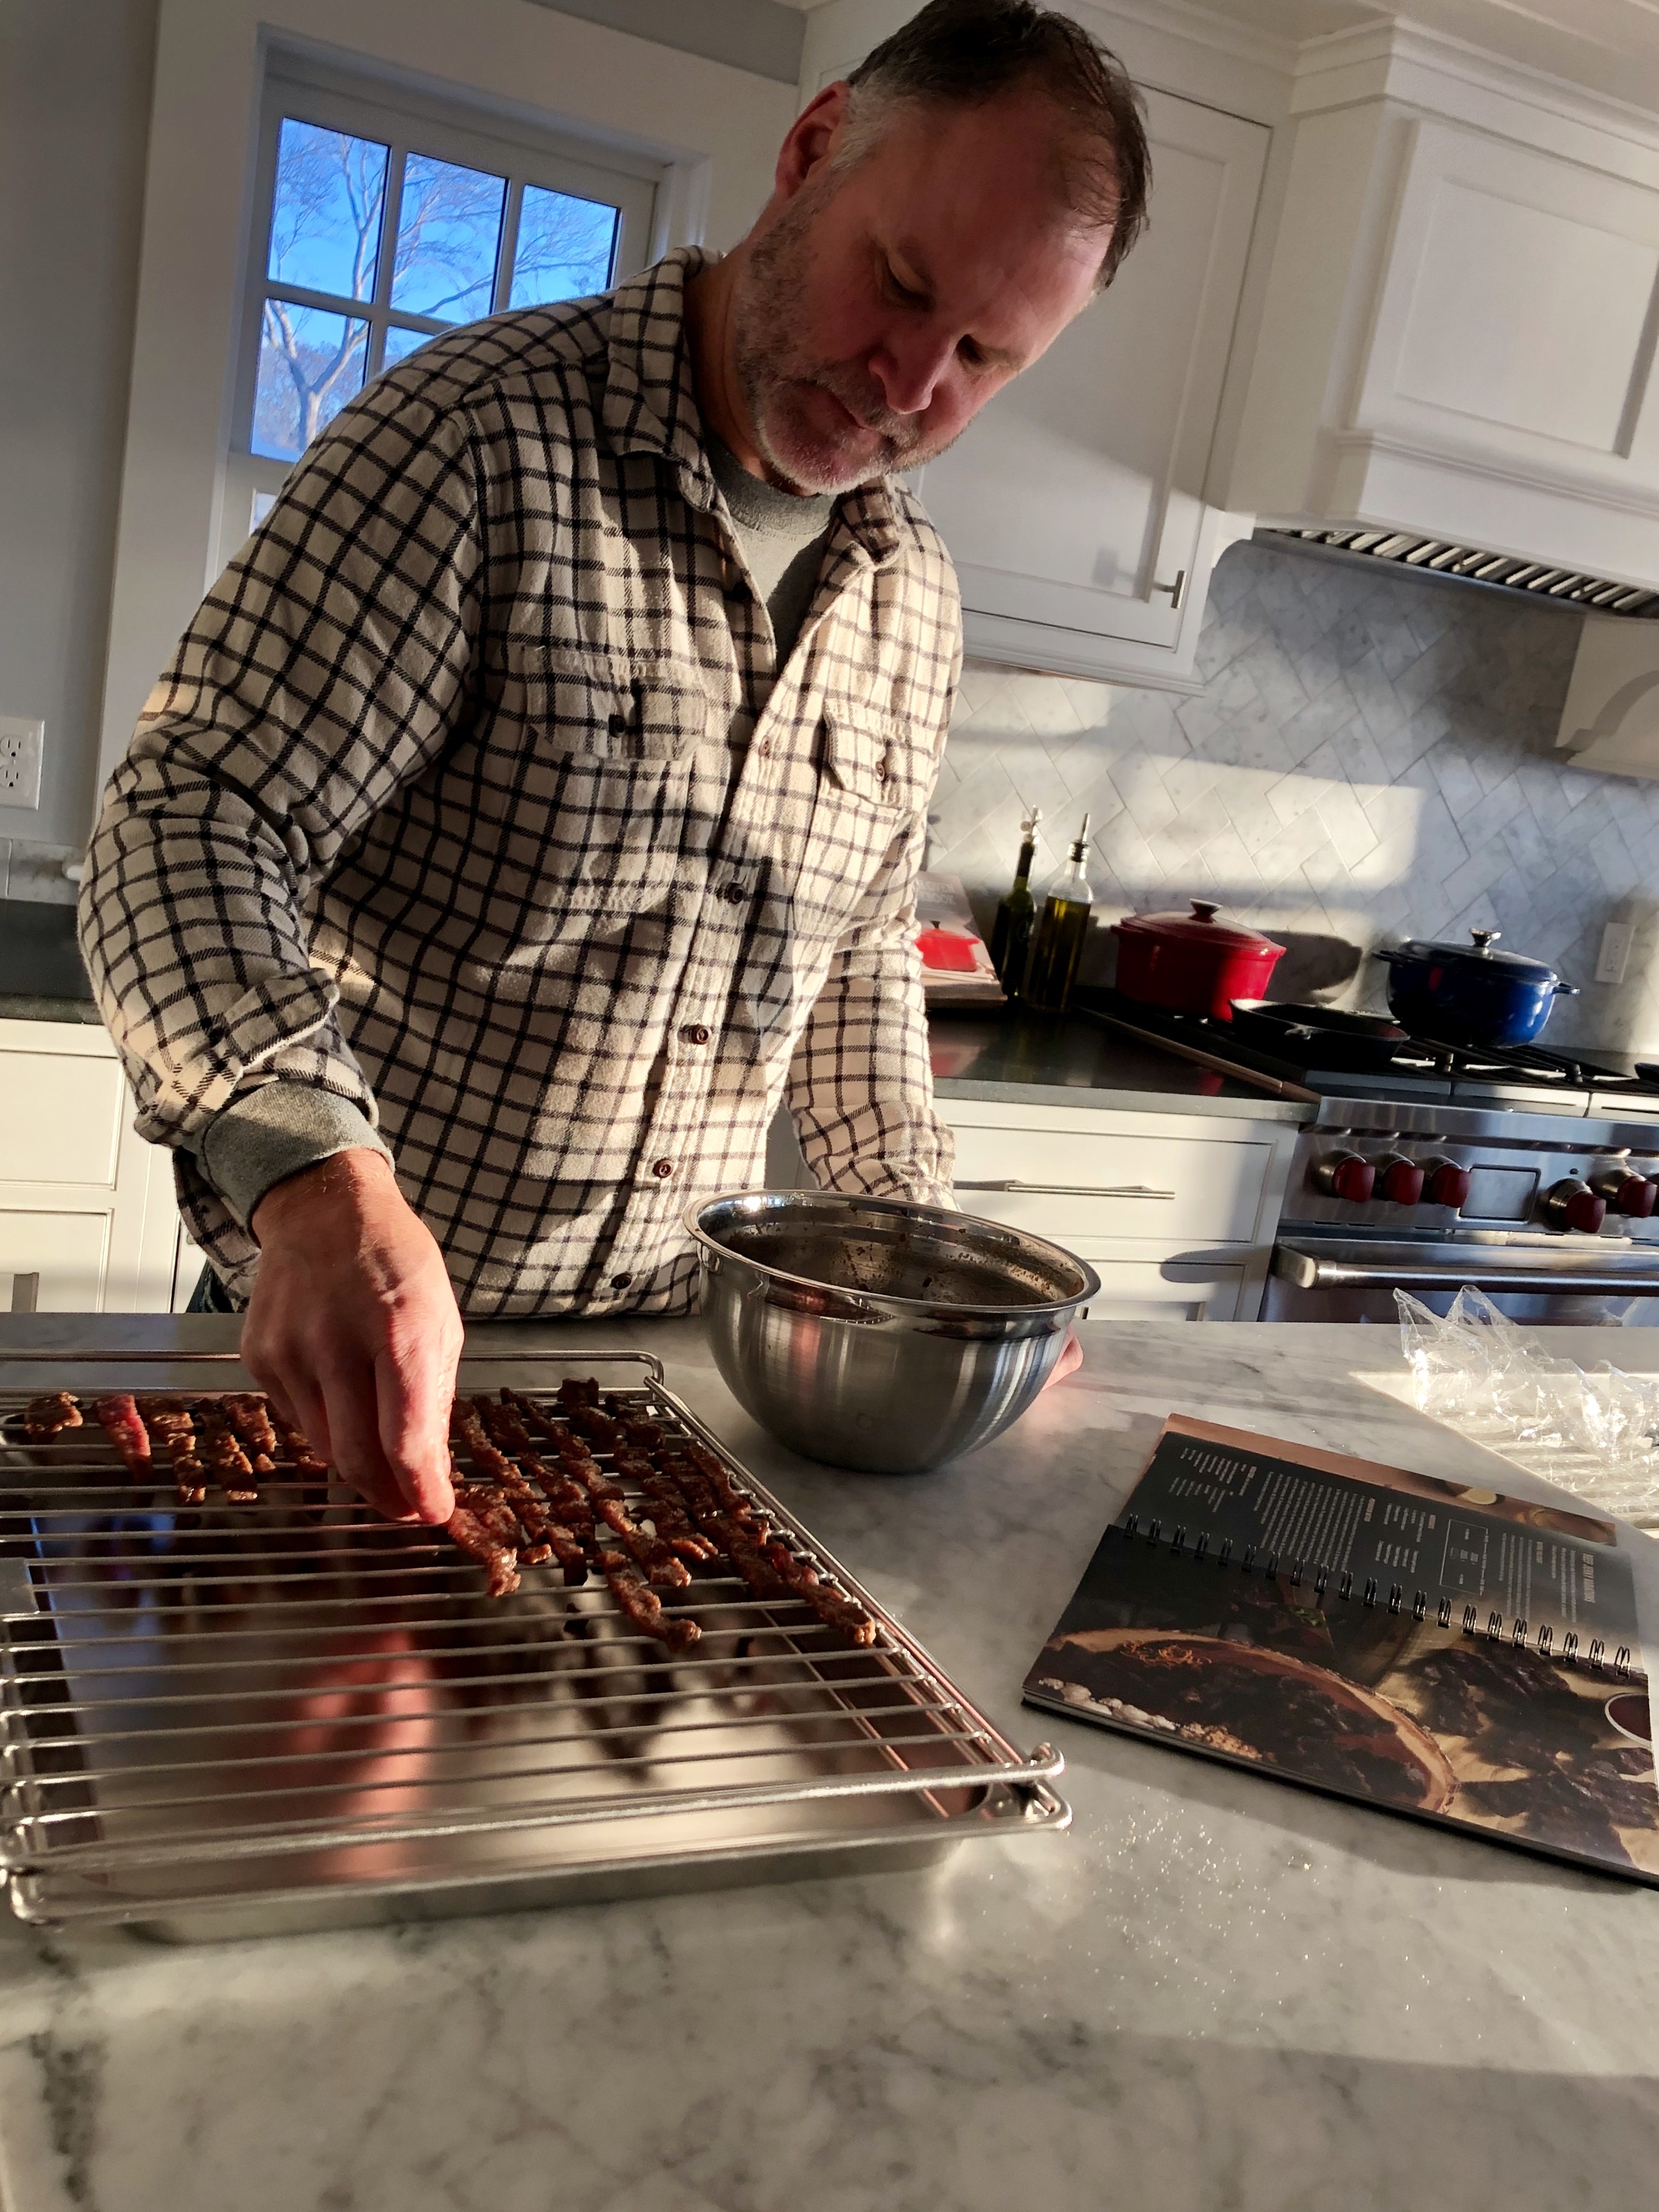
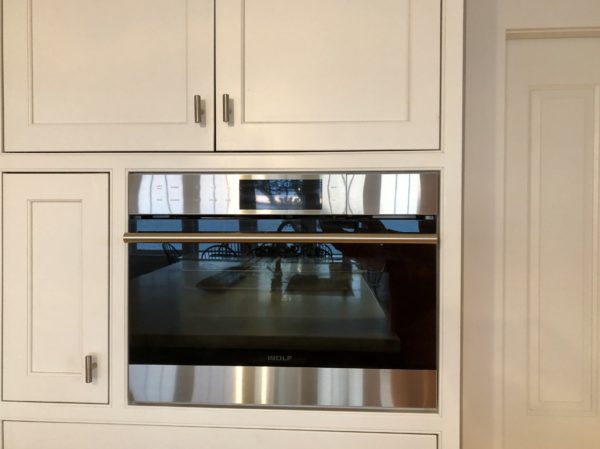
This tasty treat is one that was made by our very own Eric Thorson but comes courtesy of the Wolf’s “Mastering the Convection Steam Oven” Cookbook.  You see,  Eric & Stacy underwent a renovation of their own recently and in the process learned alot about the Subzero and Wolf appliances that they chose to use in their newly renovated kitchen. The process of selecting their appliances took them to the Clarke Showroom in Milford, MA which if you have never experienced is a showroom unlike any other. What makes it so unique is the no-pressure atmosphere and the focus on education and the client experience. No appliances are actually sold there (hence the lack of pushy sales people) but the showroom features a plethora of fully functioning appliances that you can “test drive” on the spot or do as Eric & Stacy did and join in one of their regularly scheduled cooking demonstrations that help you understand how to use the many functions of your Sub zero & Wolf Appliances all while watching a master chef at work (and getting to eat the resulting gourmet treats)!

The journey to discover the many functions of each appliance and which would be of most use to Eric & Stacy in their day to day cooking endeavors was one that actually helped them to better serve our clients as well. Both Eric and Stacy have shared their new found appliance knowledge with our clients so they too can make educated decisions on  which appliances would be the best fit in their new kitchens.

The  Wolf Convection Steam oven has created the most buzz by far; for an appliance with a bad reputation for being a “uni-tasker” (to quote Alton Brown) -or an appliance that only does one thing, like steam vegetables, this steam oven proved that wrong on so many counts and has turned out to be Eric & Stacy’s new go-to appliance. They have tested the oven with everything from risotto (that doesn’t need a babysitter) to perfectly “boiled” eggs and even, yes, beef jerky!

Stacy noticed that their new appliance knowledge has inspired Eric to be more active in the kitchen and try new things that they otherwise may not have thought of. One such occasion was the day she happened upon Eric whipping up some homemade teriyaki beef jerky. The photos here were not staged, Eric, armed with the Wolf Cookbook and the eagerness of a child learning a new skill was happily arranging his pre-marinated steak pieces artfully on the gleamingly new integrated cooking rack.  After 4-6 hours in the Wolf Convection Steam Oven on the “convection mode” …Voilla! Eric had himself a perfect pound of tasty home made teriyaki beef jerky that admittedly didn’t last long in their household.

So in honor of this magical real life moment we thought we’d share with you the recipe!

Teriyaki Beef Jerky

Makes 10 Servings

Cooking Time 4-6 Hours

INGREDIENTS 2-21⁄2 pounds beef round or flank, thinly

sliced

¼ cup soy sauce
¼ cup Worcestershire sauce

2 tablespoons water
1 tablespoon onion powder
2 teaspoons garlic powder

1 teaspoon celery salt
1 teaspoon black pepper
1 teaspoon brown sugar
2 teaspoons kosher salt

TERIYAKI
1 tablespoon freshly grated ginger
1 tablespoon freshly grated garlic
(to replace garlic powder)
2 teaspoons brown sugar
1 teaspoon Korean chili paste
½ teaspoon sesame oil
Zest of 1 orange
Juice of 1 orange

PREPARATION METHOD
1. Have the meat sliced very thin by a butcher at time of purchase, rather than attempting it by hand.

2. In a large bowl, combine all marinade ingredients and mix well to combine.

3. Dip each piece of meat individually into the bowl to ensure an even coating.

4. Allow to sit for at least 3-4 hours or overnight.

5. When ready to cook, drain off excess marinade and lightly pat meat dry with a paper towel.

6. Lay strips out flat on the wire racks. The edges of the meat can touch, but the meat should not overlap or
be folded in any way.

7. Place the racks into the oven on positions 2 and 4. Place the solid pan on rack position 1 to catch any drips.

8. Leave the door slightly ajar and select the Convection Mode set to 150°F. Dehydrate for 1 hour.

9. After an hour, flip over the meat and rotate the racks.

10. Continue to cook until the meat develops a stiff, leathery texture. Thicker cuts of meat can take an additional 3-5
hours or longer to dehydrate and cooking rates vary if using a conventional oven.

11. Continue to flip and rotate the meat every 1-2 hours to ensure the jerky has a uniform texture.

12. Cool and store in an airtight container. The jerky can also be stored in the refrigerator or freezer.

BEFORE YOU START
You will need both of the wire racks that came with your Wolf Convection Steam oven (or any oven safe wire racks if using a conventional oven). It is also helpful to have the solid oven pan to catch drips as you lay out the strips of meat across the racks. Surprisingly, you will also need a colander to drain off the excess marinade. This provides a much cleaner way of handling the strips of meat than removing them one at a time from the zip-top bag.

Recipe courtesy of Wolf’s “Mastering the Convection Steam Oven” guide