Author: Olivia McTernan

Summer Home Care Guide

Summer is finally here and it’s time to enjoy those perfect summer days and nights. There is nothing quite like a summer cookout spent with family & friends or a long fun filled day at the beach. With all the excitement summer brings, it also can shine light on those projects around the house that may need attention. We’ve shared some helpful tips and reminders to help care for your home this summer.

  • Clean your dryer vent and exhaust duct to make sure there is no buildup of dust and lint.
  • Change the filter in your air conditioner and consider scheduling an HVAC professional to service your system.
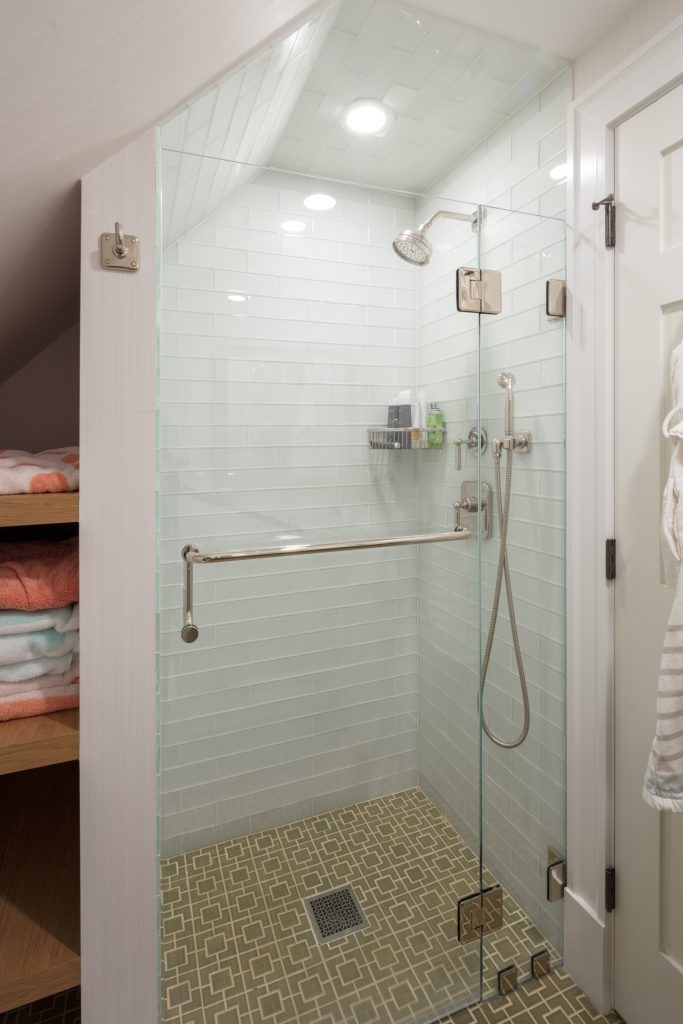
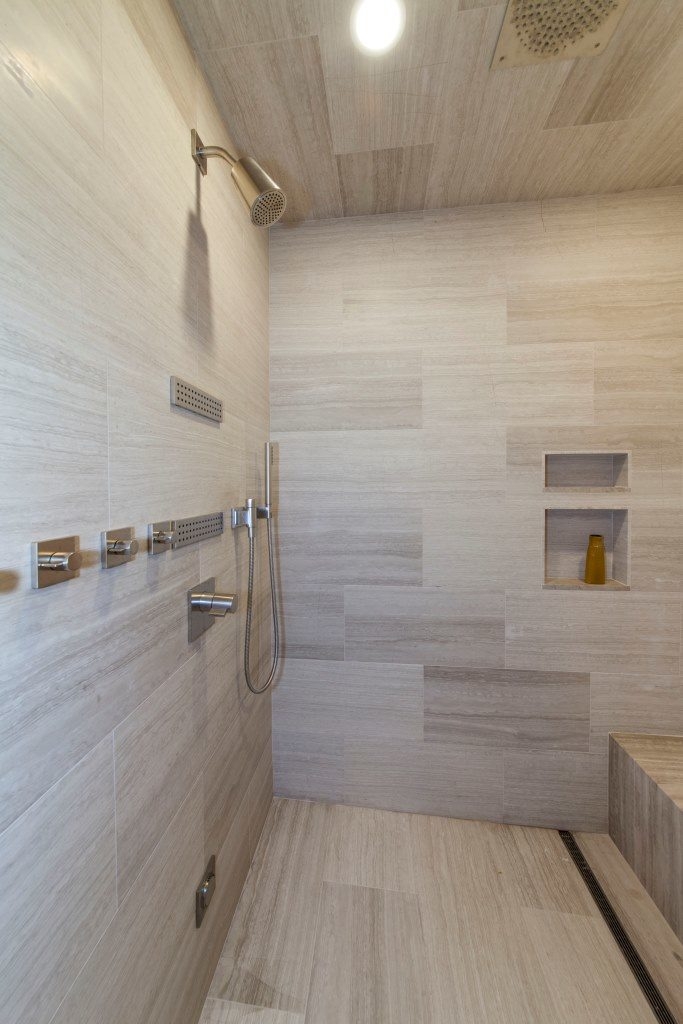
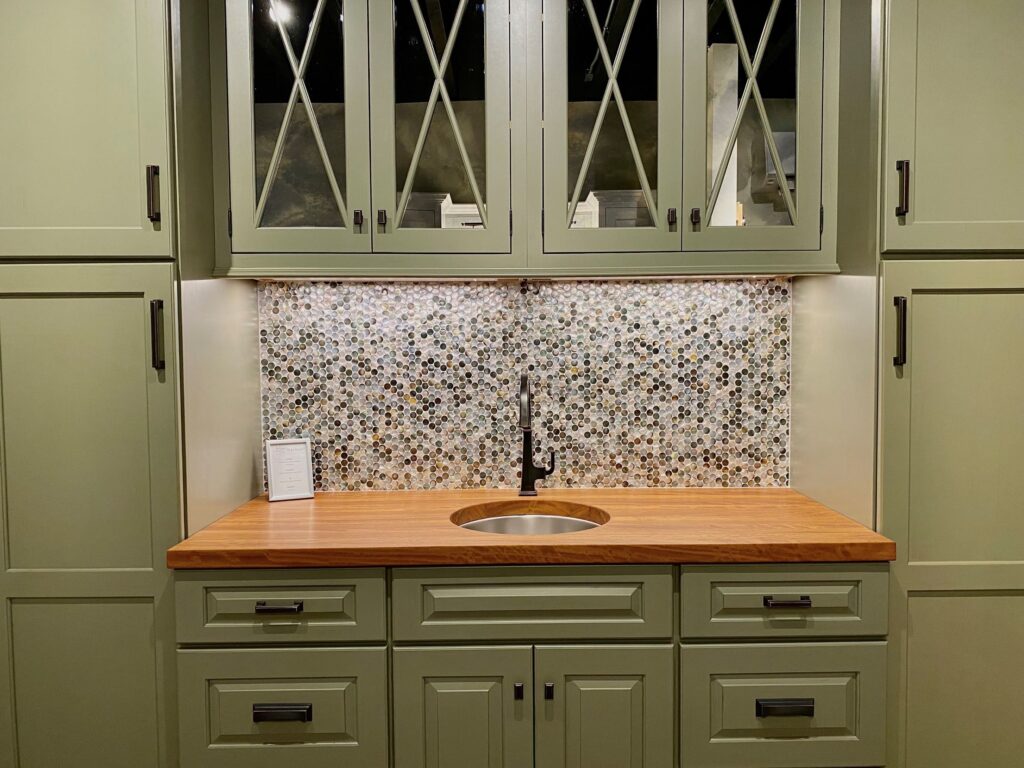
  • Clean and consider re-sealing your tile grout.
  • Do a test of your smoke & carbon monoxide detectors – check your batteries!
  • Keep an eye on your irrigation system – a faulty sprinkler or irrigation hose that goes unnoticed can quickly cause larger problems for your lawn or even your basement.
  • Reverse the direction of your ceiling fans. If your fans spin counterclockwise, they will push air straight down and will help keep your home cool this summer!
  • Pay your attic a visit to check for any signs of mildew, leaks, holes, and even pests.
  • Clean the grill to prep for all the summer barbequing!
  • Take a look at your standby generator to make sure it is functioning properly.
  • Check your gutters and downspouts for any buildup of debris and have cleaned to allow for efficient water flow.
  • Your condenser has been outside all spring and winter long, make sure it is properly cleaned.
  • Inspect your foundation for any cracks or leaks.
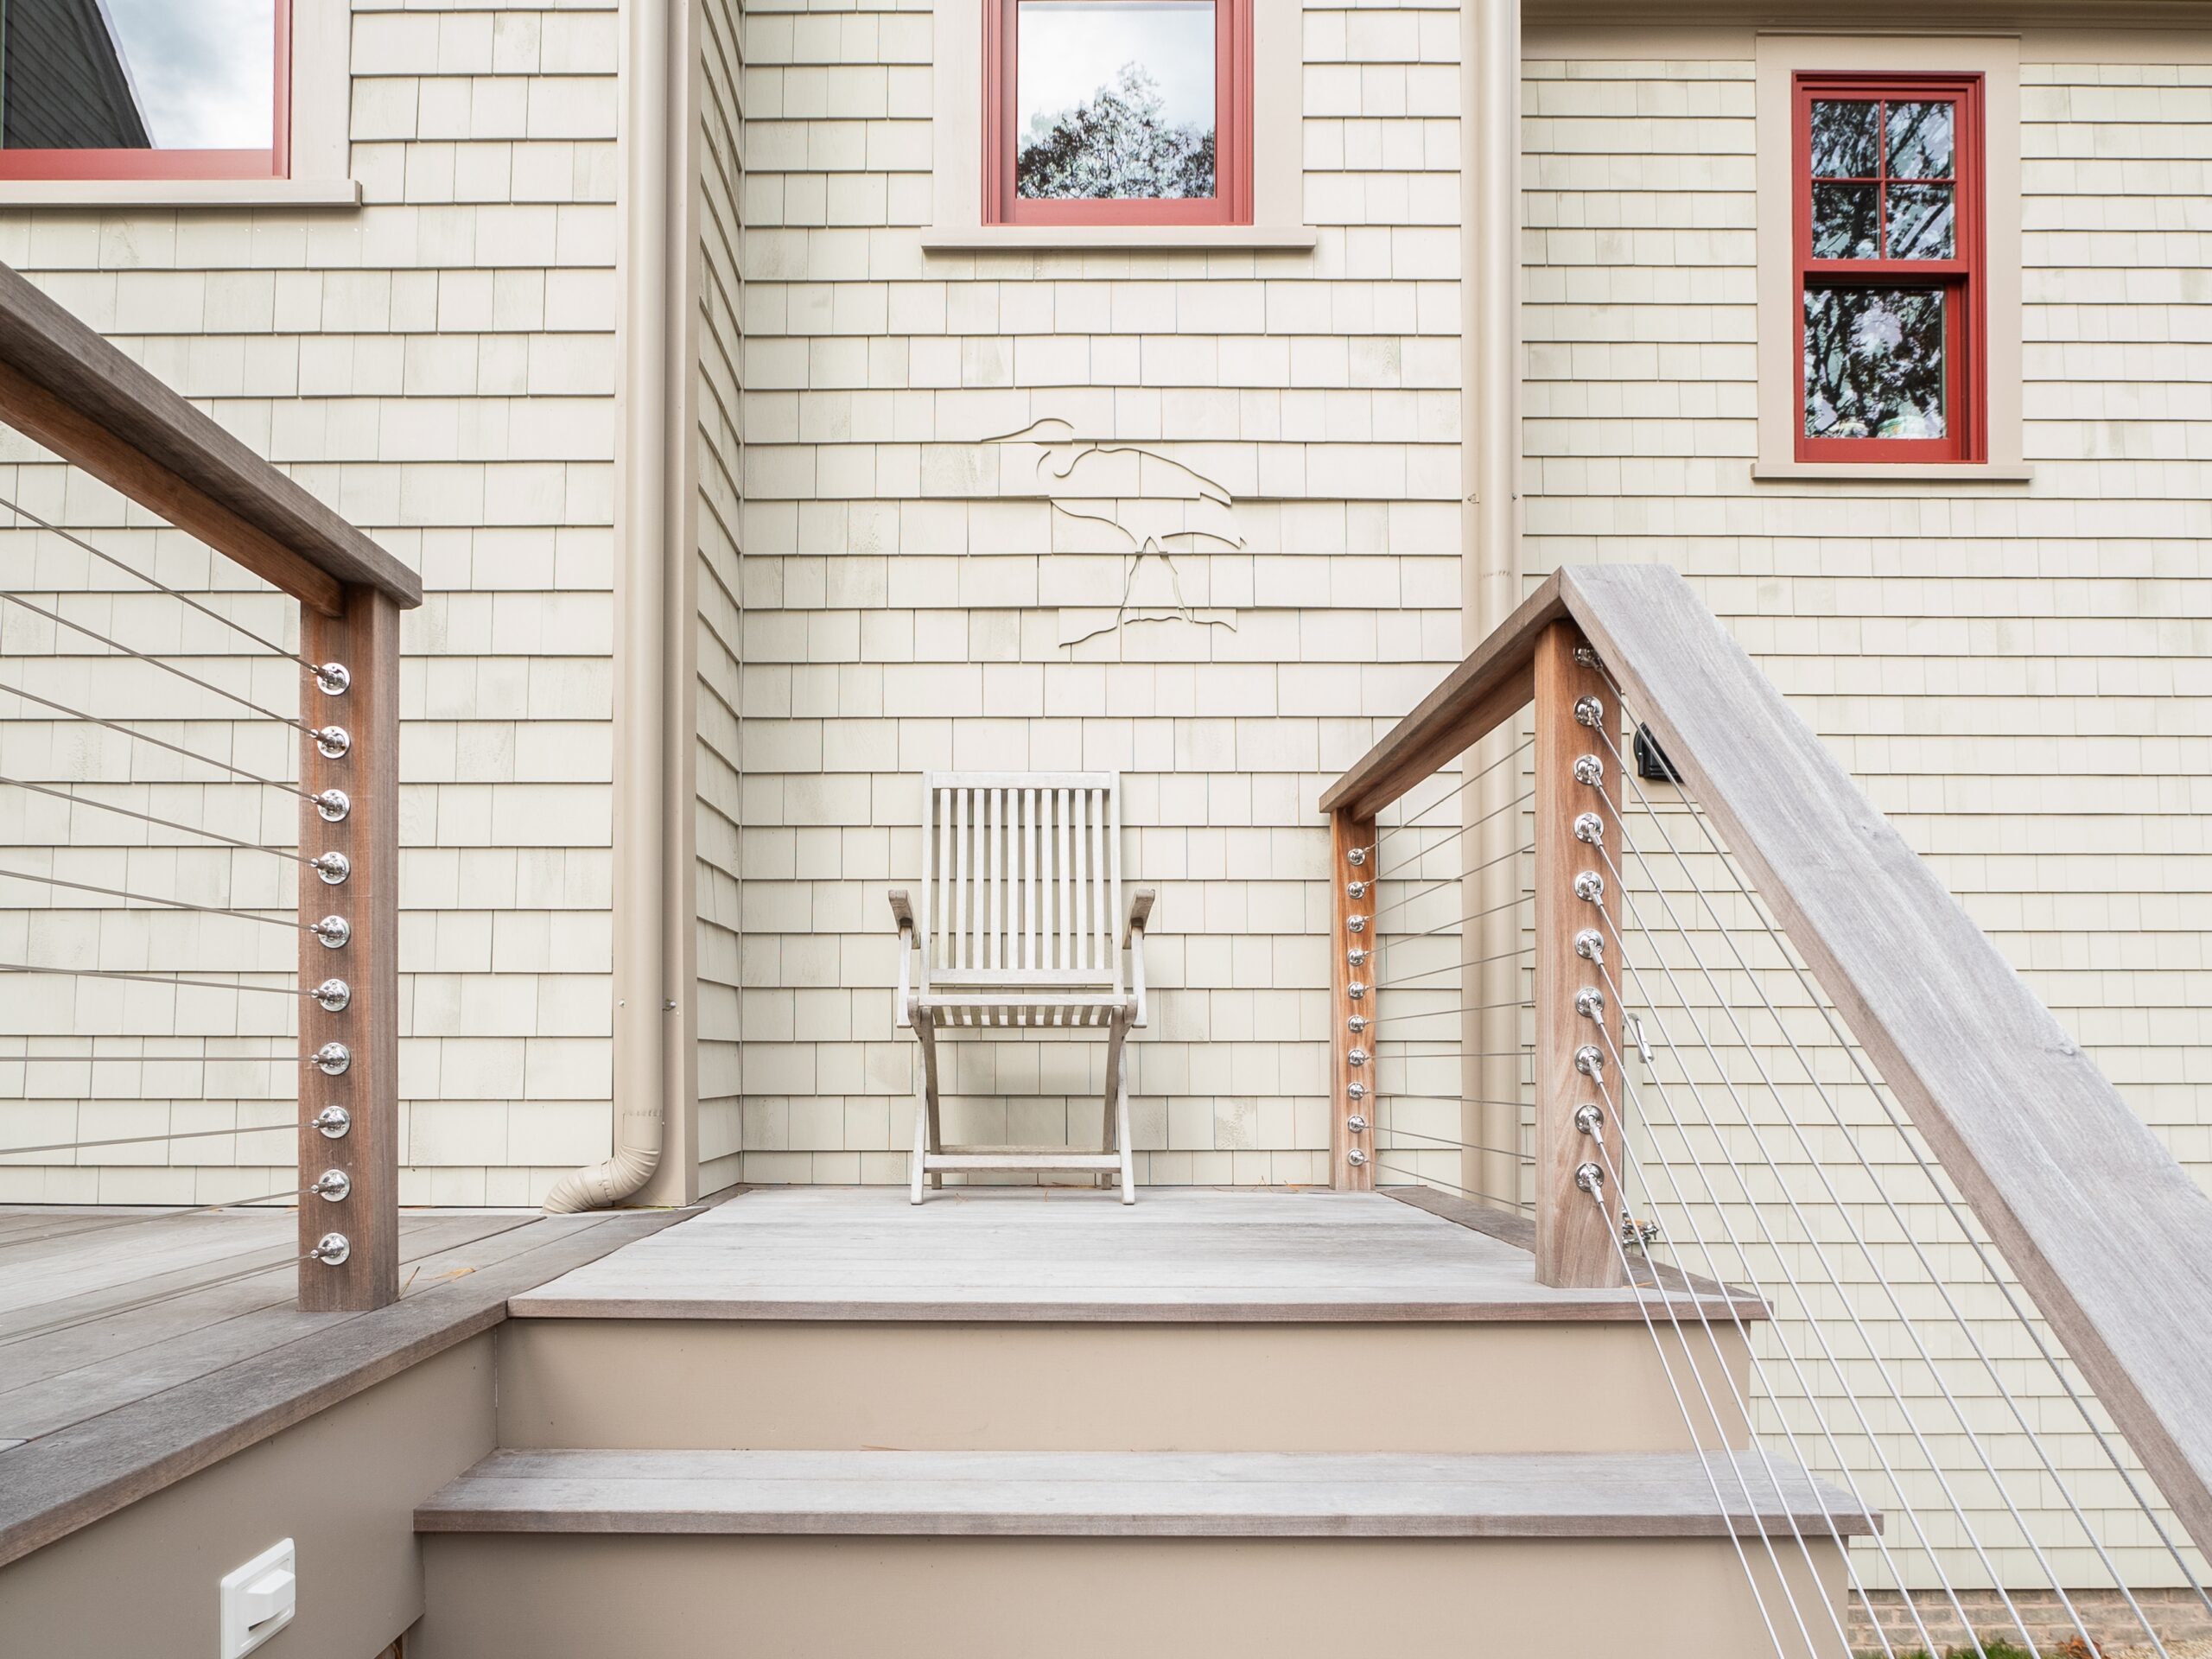
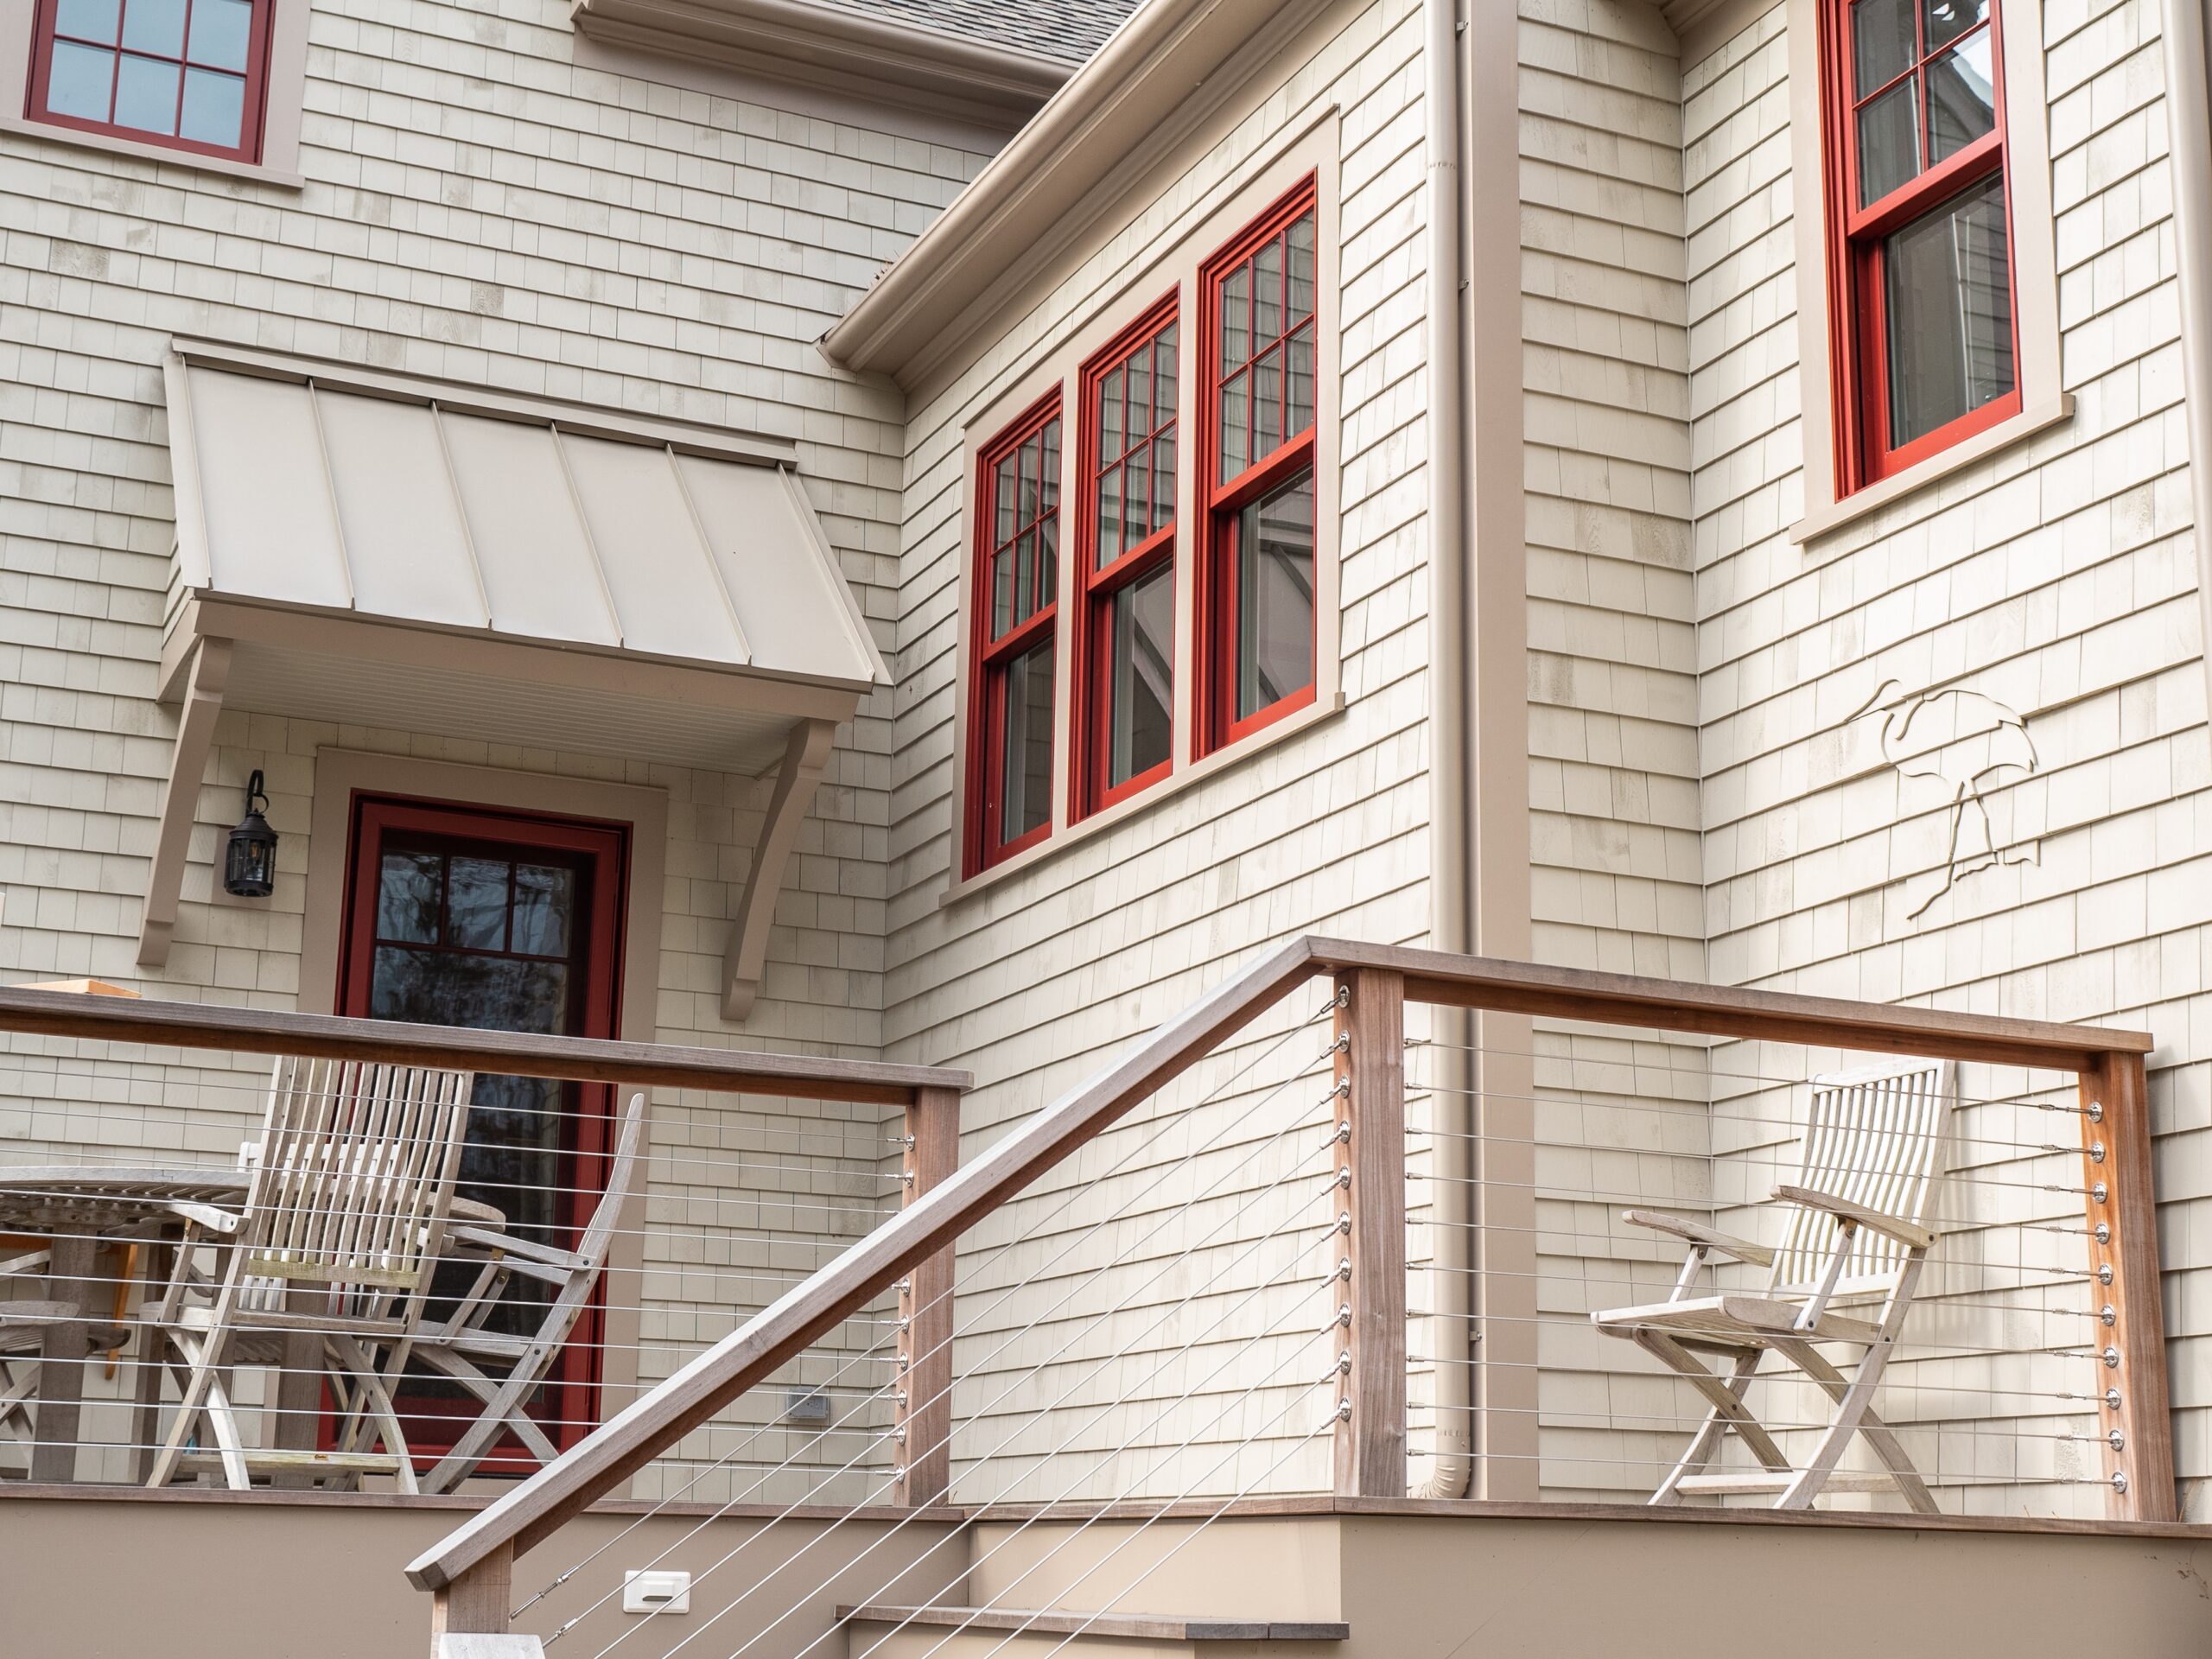
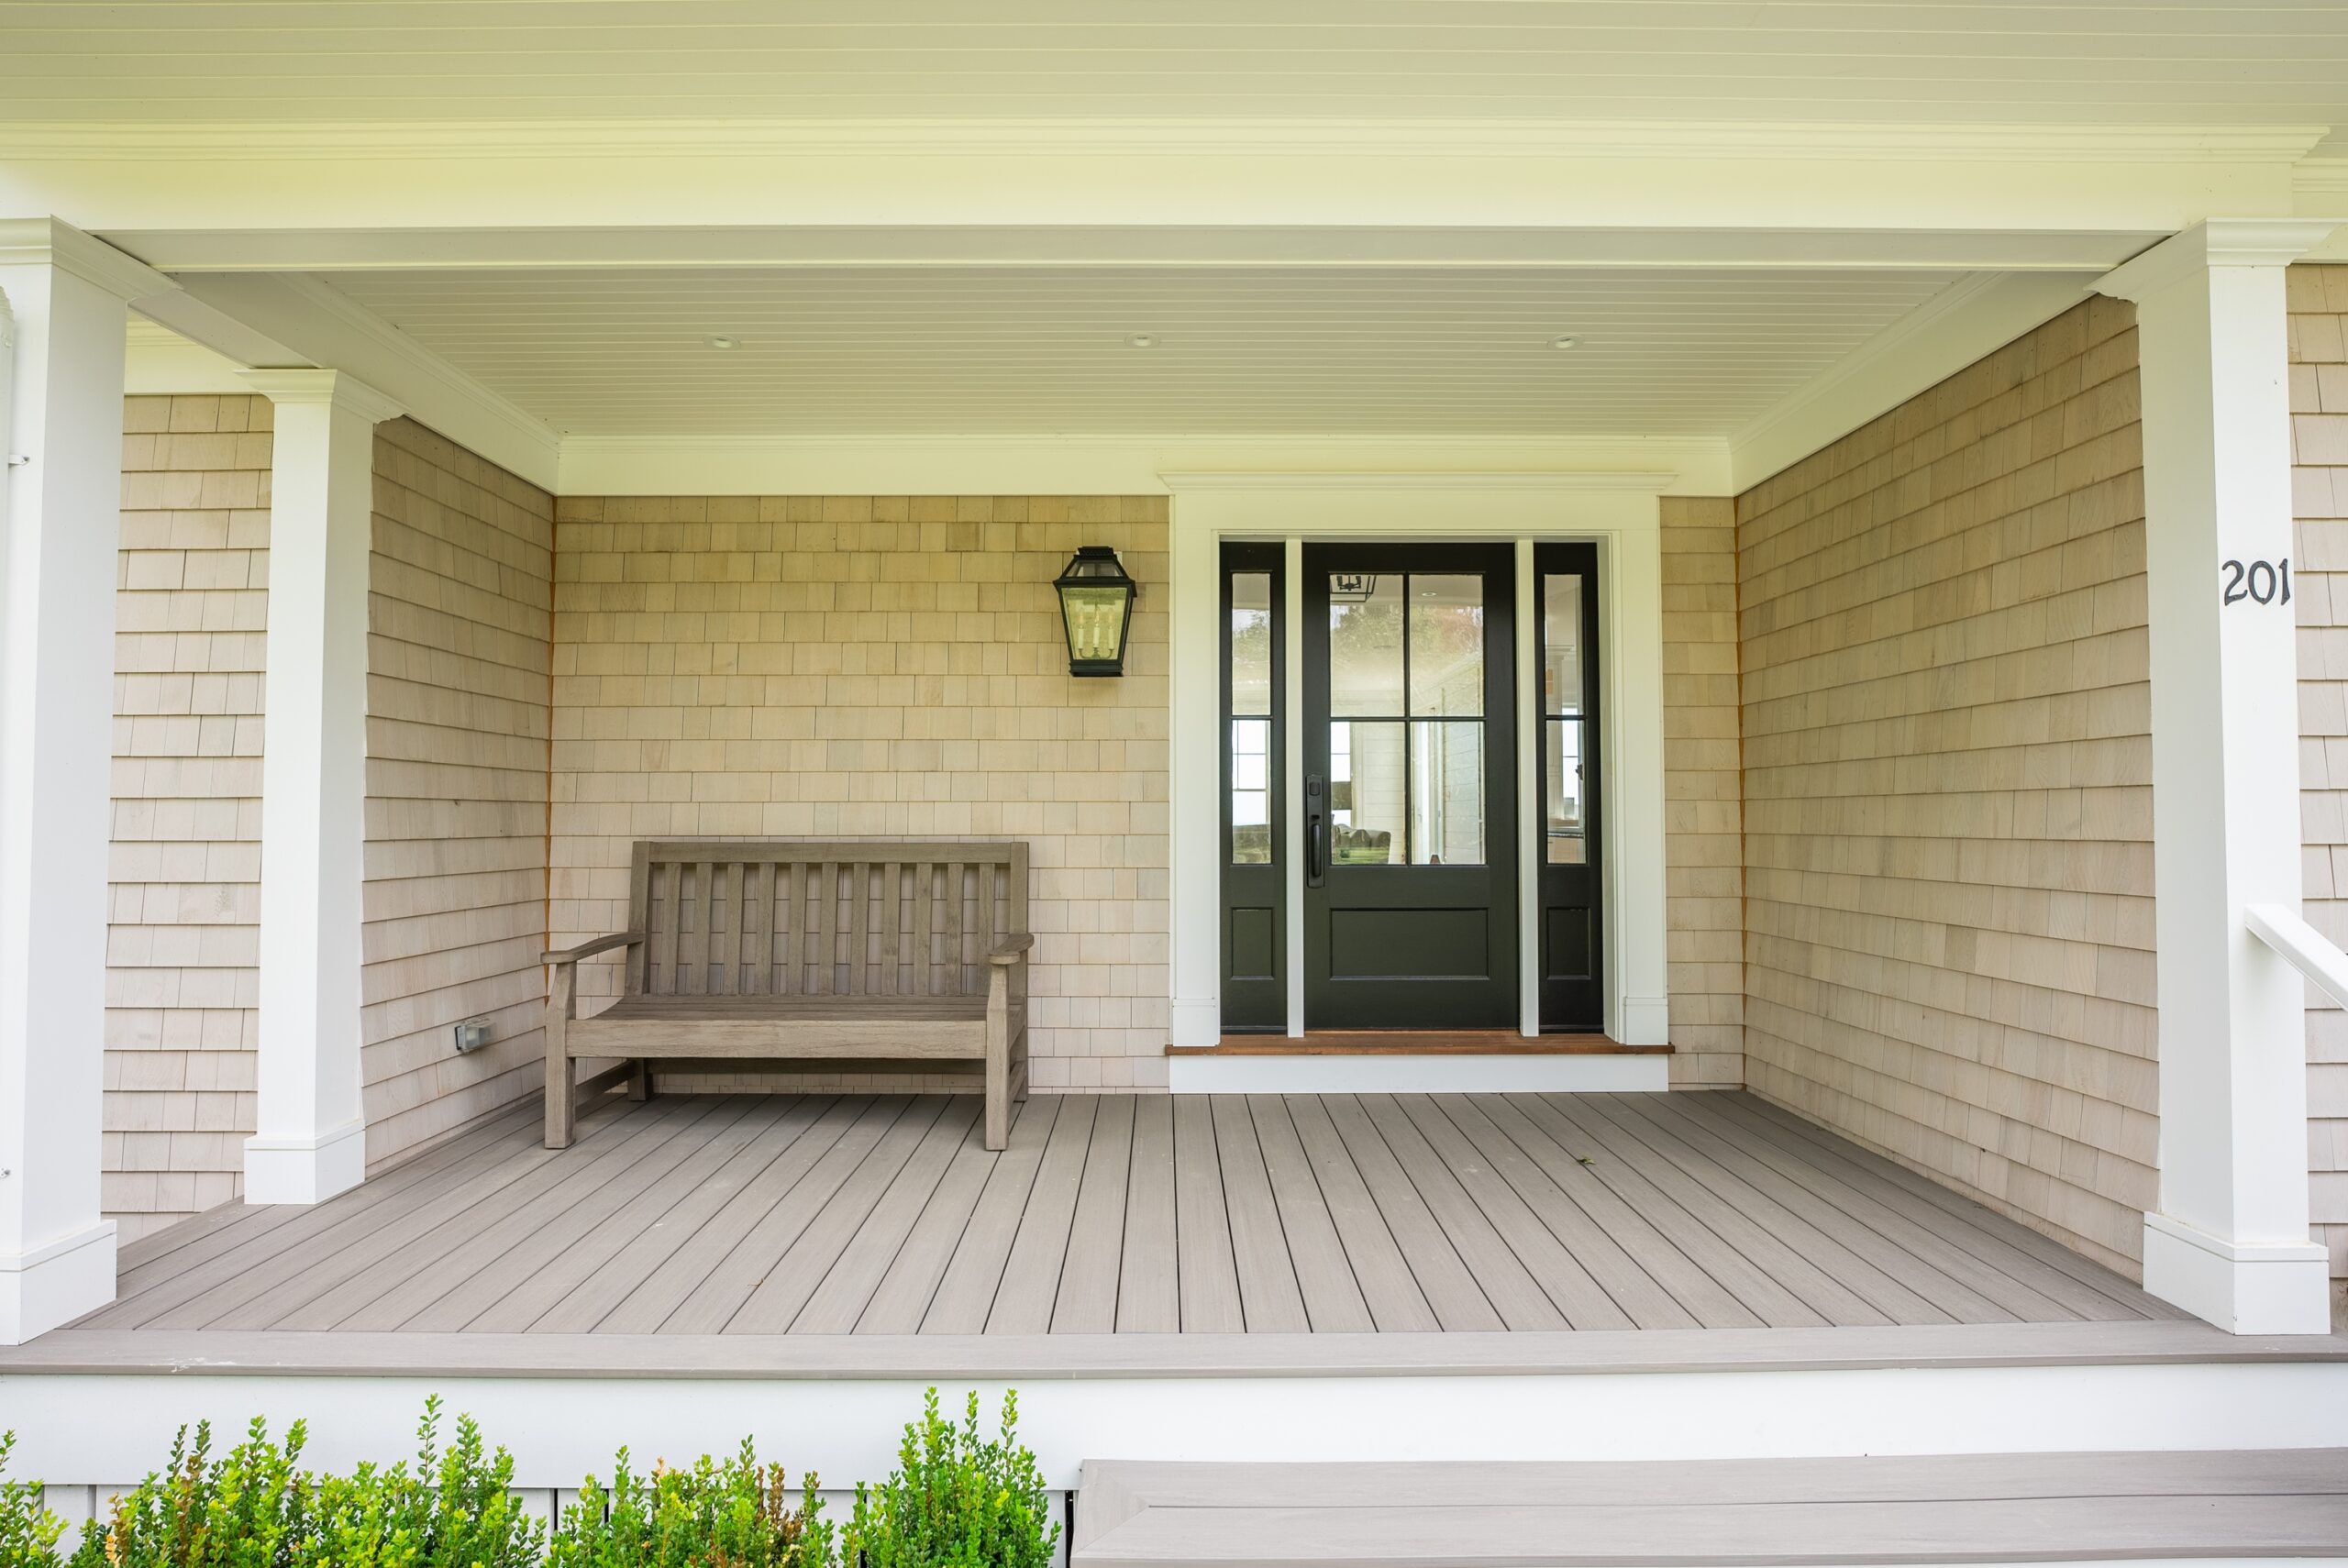
  • Wash down your porch and give your deck a glace – check to see if any boards are rotting and may need replacement.
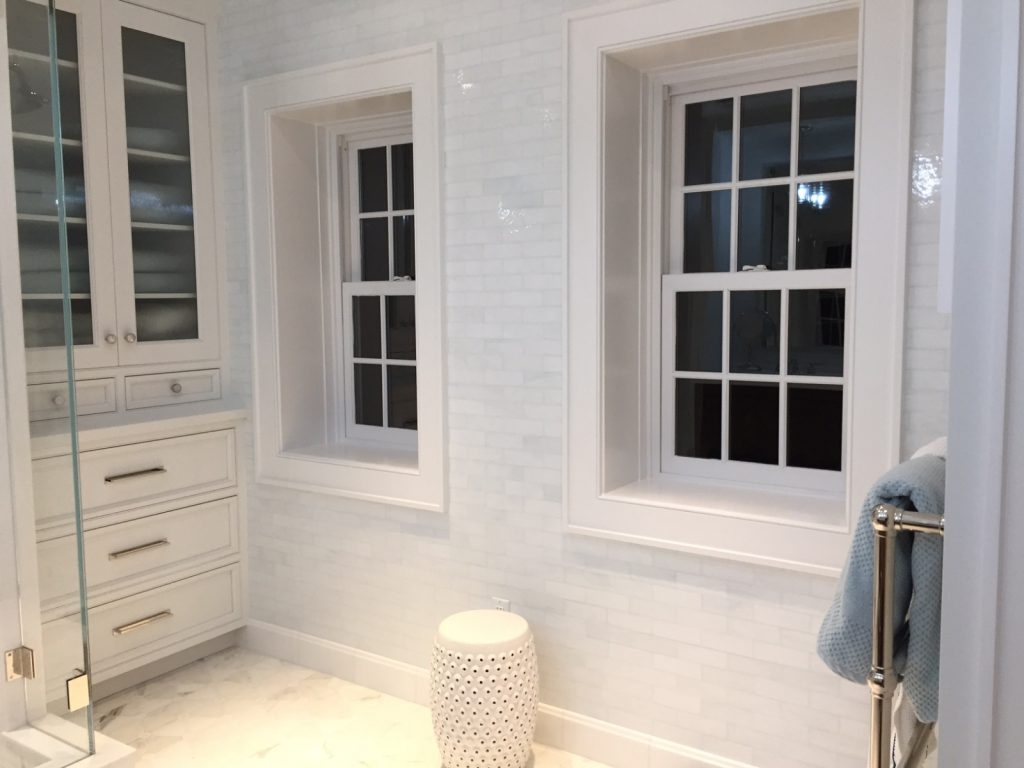
  • Wash the windows! Why not have a clean fresh start after all the pollen.
  • Check your outdoor faucets for any leaks.
  • Inspect the caulking around the windows and doors of your home, this will help keep any unwanted critters out.
  • Consider having your roof inspected by a professional.

Most importantly…don’t forget to enjoy your summer and indulge in a refreshing watermelon mint mojito! This tasty treat recipe can be found in our latest blog posts – Full Recipe Here!

Watermelon Mint Mojito

If your garden is in full swing and you’re looking for the perfect summer refresher, our watermelon mint mojito recipe is super delicious and refreshing! This recipe easily becomes a go to for when you are relaxing on the porch or even hosting a summer cookout with family and friends.

Ingredients: 

Grab your favorite cocktail glasses and a friend, as this recipe is enough to be enjoyed by two!      

  • 2 cups watermelon                                                                             
  • Handful of fresh mint leaves
  • 4 limes; freshly squeezed.
  • 1 oz simple syrup
  • 4-ounces white rum
  • chilled lime club soda water

Directions

  • Combine your watermelon, mint leaves, and lime juice in a shaker and muddle until watermelon and mint leaves are crushed.
  • Fill your shaker with lots of ice and add simple syrup and rum – Shake until ice cold!
  • Fill glasses halfway with ice and pour contents of shaker into glasses.
  • Top with chilled club soda and mix gently.
  • Add a slice of watermelon, lime, and mint for garnish – Enjoy!

Street Corn Craze

Ingredients:

  • 2 tablespoons vegetable oil
  • 4 ears fresh corn, shucked (about 3 cups fresh corn kernels)
  • Kosher salt
  • 2 ounces feta or Cotija cheese, finely crumbled.
  • 1/2 cup finely sliced scallions.
  • 1/2 cup fresh cilantro leaves, finely chopped.
  • 1 jalapeno pepper, seeded and steamed, finely chopped.
  • 1 to 2 medium cloves garlic pressed or minced.
  • 1tablespoon mayonnaise 
  • 1 tablespoon fresh lime juice
  • Chili powder or hot Chili flakes, to taste. 

Directions:

  • Heat oil in a large non-stick skillet or work over high heat until simmering. Add corn kernels, season to taste with salt, toss once or twice, and cook without moving until charred on one side. Toss corn, stir, and repeat until charred on second side. Continue tossing and charring until corn is well charred all over, about 10minutes total. Transfer to a large bowl.
  • Add cheese, scallions, cilantro, jalapeno, garlic, mayonnaise, lime juice, and Chili powder. Combine ingredients, toss, and serve!

Christmas Charcuterie Cheer

Christmas Charcuterie boards are a fun and festive way to display your holiday treats! Whether you are looking for something savory, sweet, or a little of both, these boards are sure to bring all the Christmas cheer to your Holiday table! Select your favorite holiday shape and let’s build a board! Here you’ll find lots of helpful ideas, tips, and tricks for the perfect Holiday board.

Christmas Tree Charcuterie 

Let’s start with a favorite Christmas staple, the tree!

While this tree does have several types of cheeses, it is also complimented by a few selections of meats and fruits. My favorite touch is the star of the tree, a rose sculpture made out of salami.

Salami roses are easy to prepare, delicious, and provide a unique way of making the charcuterie board stand out. All you’ll need is a few thin salami slices and a small glass for sculpting.

Step 1: For the first layer, fold one salami slice in half and place over the rim of the glass. Make sure half of the salami slice is inside the glass and the other half is outside the glass. Add another slice and overlap the first slice. Repeat the steps with 2 or more slices which should cover the rim of the glass.

Step 2: For the next few layers, place the salami layers so that more of the salami is inside the glass rather than outside.

Step 3: As you continue to add rows you will be left with a small hole in the center. Cover the glass with a small plate and turn the glass over. Push down on the salami flower while twisting the glass slightly to help set the rose.

Now you have a tree topper! Finish the tree with lots of herbs to give a lively Christmas tree feel.

Candy Cane Charcuterie 

Another festive favorite is the candy cane board – filled with savory and sweet treats. This board is super colorful and will catch anyone’s eye on your holiday table. 

For the white ingredients: you can you a Varity of cheeses such as feta cheese, baby bell cheese, mini brie, and mozzarella. Add in white chocolate pretzels and macadamia nuts and you have the perfect pairing. 

For the red ingredients: you can use raspberries, strawberries, cherry tomatoes, and sugared cranberries. Add in a touch of pepperoni or prosciutto for a salty balance. 

Tips & Tricks: You can use a toothpick to keep the folded meat in place. To keep the cheese from drying out, you’ll want to make the board right before serving. Fresh rosemary springs make a great decoration!


Christmas Wreath Charcuterie 

Filled with Christmas colors and delicious cheeses and meats – this holiday wreath is meant to be eaten!

Start by setting the wreath with a garnish of rosemary – this will tie everything together once complete.

Popular cheeses for this spread include cranberry goat cheese, garlic herb brie, and English cheddar cheese. These cheeses pair well with sliced apples, sugared cranberries, blueberries, and pomegranates – which also serve as great red berries for the wreath! And of course, you’ll want to add a variety of your favorite meats.

Add a decorative touch with a jellied brie – To make this festive, simply cut the brie in half and add in your favorite jam. Using the top layer of the brie, use a cookie cutter to make a cut out of the center!

A Versatile Focal Point

Homeowners often juggle between design and practicality when it comes to finishing touches such as railings. Railings have the tendency to be a detail that is easily overlooked, but ultimately completes the space.  A design that remains sleek and inviting while also practical is cable railing. Cable railing offers an impressive visual impact but is much more than just an aesthetic benefit.

A challenge one may face while designing interior and exterior spaces is encompassing the view. Cable railing offers unobstructed views which in return makes the room feel larger and more inviting as your viewpoint goes beyond just the railing. This allows for natural light to shine through and creates a streamline design that is not usually considered a focal point in a home, but without effort, catches anyone’s eye. If you are viewing the space from a distance, the thin lines simply vanish, and the architectural details and/or breath-taking views become center of attention. 

Thanks to the design of cable railing, they are effortless to maintain, and their durability brings forth tremendous value to your home. Cable railing serves a variety as they pair well with traditional but also contemporary styled homes, blending well to every taste of design. They allow a homeowner to showcase their personality and the overall beauty of a space, inside or out.

Cranberry Harvest Butter

Tart and savory crock pot cranberry butter is a fall staple in Olivia’s kitchen – what better timing than to share this delicious recipe before the holidays arrive. This treat pairs well with biscuits, scones, rich cheeses, and is even a great spread to have on the table during Thanksgiving dinner. 

You’ll want to bring a jar with you to every fall get together!

Ingredients:

  • Three 12 oz bags of cranberries (rinsed)
  • 2 Cups of brown sugar
  • 1 tbsp. lemon juice
  • 2 tsp. vanilla extract
  • Dash of nutmeg
  • 2 cinnamon sticks 
  • Orange zest (half an orange)
  • 1/4 cup maple syrup

Directions:

  • Wash the cranberries and pour them into the crock pot.
  • Next, peel the zest off the orange, add it to the slow cooker. Toss in the cinnamon sticks too. 
  • Add 1/4 cup maple syrup. The flavor combination of maple, orange, cinnamon and cranberry is too good! 
  • Add remaining ingredients: lemon juice, vanilla extract, nut meg, and brown sugar. 
  • Stir and cook on low for 4 – 6 hours. 
  • Now, use an immersion blender (or regular blender) to get the perfect consistency! If too thick, add in a touch of water. 


Rhubarb Zucchini Bread

Everyone loves a recipe that is not only super easy but extremely delicious! Rhubarb Zucchini Bread has the perfect hint of tart and savory goodness. This is a favorite in the Thorson office – we’re sure it’ll be a favorite of yours!

Ingredients:

  • 1 Egg
  • 1/3 cup + 1 tablespoon white sugar
  • 1/3 cup brown sugar
  • 1/3 cup vegetable oil
  • 1/4 cup plain nonfat Greek yogurt
  • 2 teaspoons vanilla extract
  • 1 teaspoon fresh lemon zest
  • 1 1/4 cup flour
  • 1/2 teaspoon baking powder
  • 1/2 teaspoon baking soda
  • 1 cup shredded zucchini
  • 1/2 cup rhubarb (about 1 large stalk) finely chopped
  • 3 additional stalks rhubarb to top

Instructions:

  1. Preheat oven to 350 degrees F. Coat an 8.5 x 4.5-inch loaf pan with cooking spray and set aside.
  2. In a large bowl, add 1/3 cup white sugar, brown sugar, vegetable oil, yogurt, vanilla, fresh lemon zest, and whisk in egg.
  3. Add flour, baking powder, and baking soda and stir just until moistened. Don’t over mix. Gently fold in zucchini and chopped rhubarb until well combined.
  4. Transfer batter to your prepared pan and smooth evenly. Slice extra rhubarb stalks in half the long way, remove the backs, but keeping the front -facing part of the rhubarb intact. This takes some of the weight off and keep them from sinking. Lay across the top of your loaf and sprinkle with 1 tablespoon sugar.
  5. Bake 40-35 minutes or until a toothpick entered into the center comes out clean. Wet crumbs are okay if you like your moist. Let cool in the pan 10 minutes before turning out onto a wire rack to cool completely.

Finish Carpenter – Since 2020

Growing up with interests in drawing and woodworking prepared Payton for the start of his career in carpentry. For as long as he can remember he has always held a desire for art and expressing his talents through woodworking. Payton enjoys the daily tasks on the job but also enjoys making furniture and wood pieces in his spare time.

With classes taken at Wentworth Institute of Technology and completing a 4-year course through high school, Payton has engineering skills under his tool belt. Aside from carpentry, Payton has a love for sailing and even became a sailing instructor for the Plymouth Yacht Club at the age of sixteen. Teaching little ones the skill and passion for sailing means a lot to Payton as he ultimately grew up on a sailboat himself.

Baths

The bathroom is quite likely the second most used room in the home outside of the kitchen. Bathrooms today are not just utilitarian spaces; they more often emulate a relaxing spa-like retreat where you can escape the worries of the day and enjoy some solitude while you refresh & rejuvenate. More time spent in the bath means these spaces have to be beautiful in and of themselves, and that’s where we come in.

The Showcase of Style & Function

One factor in home design that is here to stay is the concept of space and functionality. Floating shelving serves as a versatile way to add personal touches to your home all while keeping the ease of functionality a top priority.

Whether your functional needs stem from a well-organized pantry, convenient coffee bar, or a showcase of style - function is key. 

Apart of creating a functional space that remains functional is following the mantra "Anything that takes up physical space takes up mental space". Meaning, it's important to identify the "must-haves" to create a purposeful space. Floating shelving allows for endless opportunities to change up design if desired - This is one factor that you are limited to with full cabinetry. Let's face it, seasons change and so does nature of design!

It's also perfect for those "Odd" spaces. Floating shelving is easily customizable and can be a great way to make that awkward space functionable and used.

Blue Harbor Kitchens + Baths General Manager, Jill Muldoon, touches upon how floating shelving can be a great contrast in any space.
 “I love adding a pop of color that will serve as a contrast in an otherwise ‘all white’ kitchen. Floating shelves in a natural wood, such as Walnut are a great way to achieve a subtle contrast. They can create a sense of warmth, give the space some character, and provide an opportunity to add personal style.”                             
                                                                                                                                                                                                                                            In many ways, floating shelves can uplift a home and create a statement that serves as a functional part of our everyday lives.
Private Residence

Blue Harbor Kitchens + Baths| A Collaboration of Style & Convenience

With lots of strategic planning and a great vision came a beautifully designed showroom and new Kitchen and Bath division.

Thorson Welcomes Blue Harbor Kitchens + Baths | A collaboration of style and convenience.

The Thorson team could not be more thrilled to share this extension of our company with our clients & family.

Blue Harbor Kitchens + Baths was a vision many had and hoped for – especially BHKB General Manager, Jill Muldoon. Jill has been in the kitchen and bath design/construction industry for over eighteen years. Specializing in high-end residential projects and top-notch customer service.

Get to know Jill Muldoon!

Our showroom serves as an opportunity for clients to be able to work closely with Thorson to plan their next home improvement project/new build and also work in-house to review and select design finishes. We hope to see many familiar and new faces at our Blue Harbor Kitchen + Bath showroom and trust the convenience + style of this “one stop shop” allows for a memorable and seamless experience.

Jill’s Fitness Fuel

Searching for the perfect healthy balance of savory & sweet? Jill’s fitness fuel serves a delicious mixture of granola clusters giving just the right amount of energy you need.

In the Muldoon household, this treat stays a fan favorite and is usually made around the holidays as gifts. Hints of nutty goodness & a coconut maple glaze will have you making this treat for every family gathering!

Need the perfect treat for your special Valentine? Simply mix in red & pink M&M’s for a sweet valentine’s touch!

Ingredients:
3 Cups rolled oats
1 heaping cup flaked unsweetened coconut
1 heaping cup sliced almonds
1/2 cup chopped pistachios
1/2 cup chopped hazelnuts 
1/4 cup ground flax seeds
1/2 cup coconut oil, melted
1/4 cup real maple syrup
1 teaspoon cinnamon
1 teaspoon salt
1/2 cup raisins or craisins (sweetened with fruit juice)

Instructions:
Preheat the oven to 300 degrees.
Mix everything (except the raisins) in a large bowl. Spread the mixture on a large baking sheet in a thin layer.
Bake for 30 minutes, stirring mixture every 10 minutes. Stir in the golden raisins and bake for an additional 15 minutes.
Let the Granola sit on the baking sheet for another 10-15 minutes so that clusters can form. - ENJOY!